


There are several tools in audio editing software that can be used to edit unwanted sounds from a recording. Here are some commonly used tools:
- Cut and Delete: The cut and delete tools are used to remove unwanted sections of audio from the recording. This is done by selecting the unwanted section and then cutting or deleting it from the track.
- Silence: The silence tool is used to remove a section of audio and replace it with silence. This can be useful for removing unwanted background noise or pauses in the audio.
- Fade In/Out: The fade in/out tool is used to gradually increase or decrease the volume of an audio clip. This can be used to remove unwanted clicks or pops at the beginning or end of a recording.
- Noise Reduction: The noise reduction tool is used to remove background noise from a recording. This is done by selecting a section of the recording that contains only the background noise and then using the tool to remove it from the entire track.
- EQ: The EQ tool can be used to remove unwanted frequencies from a recording. This can be useful for removing low-end rumble or high-frequency hiss from the audio.
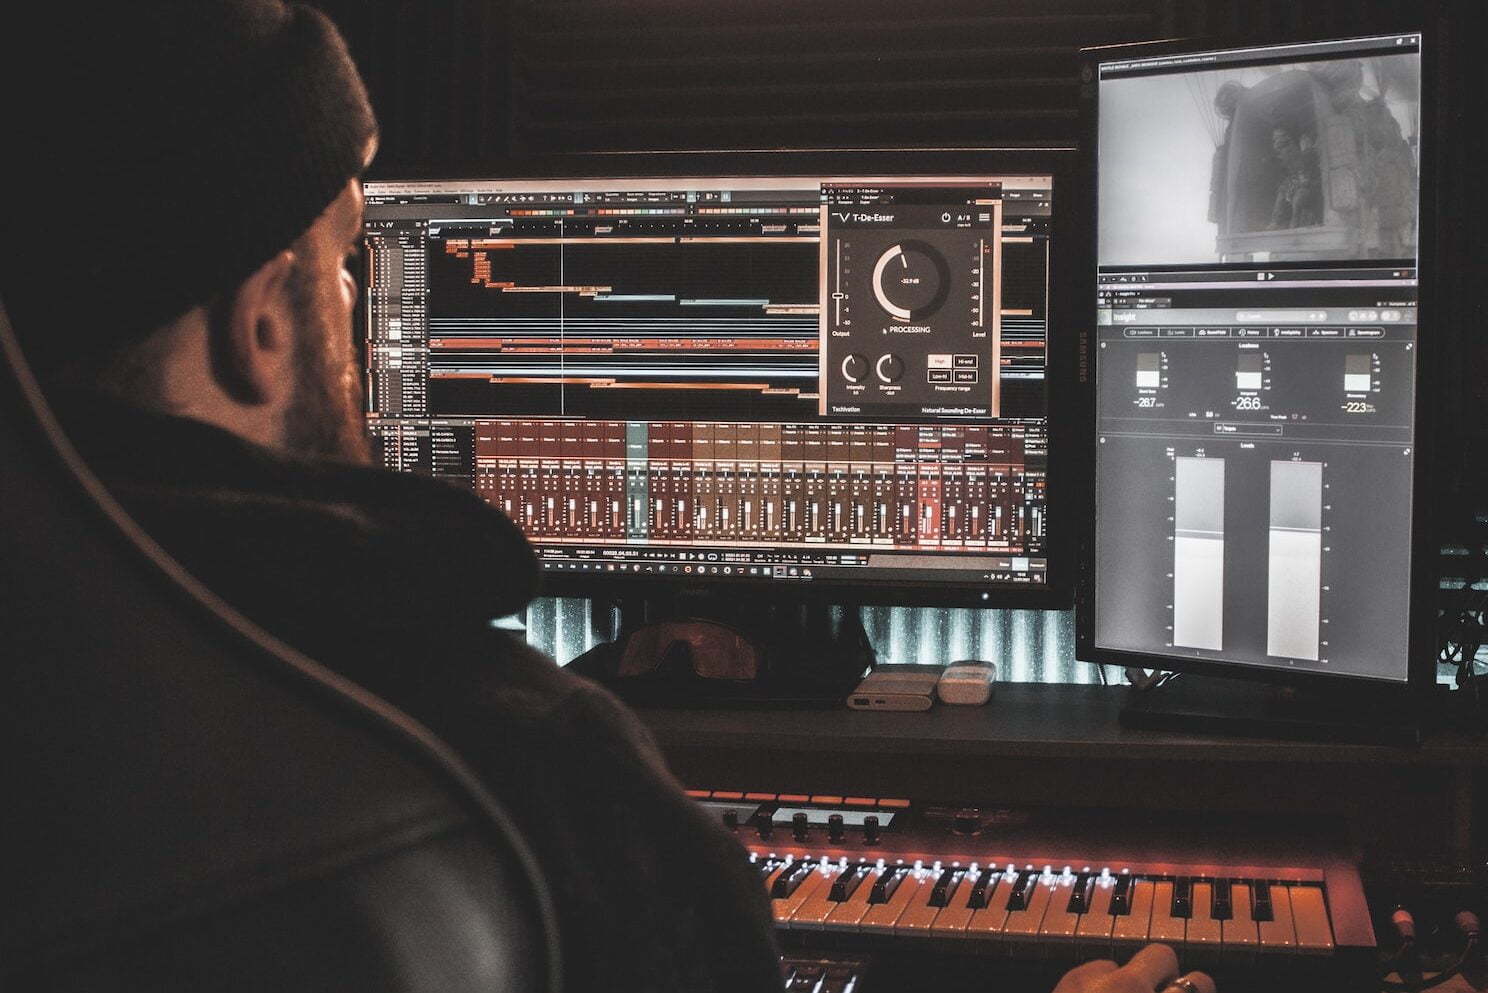
- De-Esser: The de-esser tool is used to remove sibilance from a recording. This is done by identifying the sibilant frequencies (usually around 6-8 kHz) and then reducing their level.
- Spectral Repair: Spectral repair is a more advanced tool that can be used to remove unwanted sounds from a recording. It works by analyzing the frequency spectrum of the recording and then removing or replacing specific frequencies.
- Volume Envelope: The volume envelope tool is used to adjust the volume level of an audio clip over time. This can be used to smooth out volume fluctuations and create a more consistent sound.
- Time Stretching/Compression: The time stretching and compression tools are used to adjust the speed and duration of an audio clip without affecting its pitch. These tools can be used to make minor adjustments to the timing of a recording or to create dramatic time-based effects.
- Pitch Correction: The pitch correction tool is used to adjust the pitch of an audio clip. This can be useful for correcting off-key notes in a vocal performance or for creating unique pitch-based effects.
- Harmonic Exciter: The harmonic exciter tool is used to enhance the harmonics of an audio clip. This can be useful for adding warmth and presence to a recording.
- Harmony Generation: The harmony generation tool is used to generate harmonies based on a recorded melody or vocals. It can be used to create more complex vocal arrangements or to fill out the sound of a recording.
- Limiter: The limiter tool is used to prevent clipping and distortion in an audio clip by limiting the maximum level of the signal. This can be useful for increasing the overall volume of a recording without introducing distortion.
- Stereo Widening: The stereo widening tool is used to enhance the stereo image of an audio clip. This can be useful for creating a wider, more immersive sound.
- Automation: Automation tools are used to automate the changes to various parameters in an audio clip over time. This can be useful for creating complex and dynamic effects.
- Noise Gate: The noise gate tool is used to remove unwanted background noise from a recording. It works by setting a threshold level below which any sound is muted or attenuated, which can be useful for removing noise from recordings with low signal-to-noise ratios.
- Compressor: The compressor tool is used to reduce the dynamic range of an audio clip. It does this by reducing the volume of loud sections of the recording and increasing the volume of quiet sections. This can be useful for creating a more consistent overall sound and increasing the perceived loudness of the recording.
- De-Esser: The de-esser tool is used to reduce harsh sibilant sounds that can occur in recordings, particularly in vocals. It works by identifying the frequency range where sibilants occur and then reducing the level of those frequencies.
- EQ Match: The EQ match tool is used to match the tonal balance of one audio clip to another. This can be useful for creating a consistent sound across multiple tracks or for matching the sound of a recorded voice to a professional voiceover.
- Spectral Analyzer: The spectral analyzer tool is used to visualize the frequency spectrum of an audio clip. This can be useful for identifying problem frequencies or for analyzing the overall tonal balance of the recording.
- Stereo Imager: The stereo imager tool is used to adjust the stereo width of an audio signal. It can be used to create a more immersive stereo sound or to narrow the stereo image for a more focused sound.
- Clip Gain: The clip gain tool is used to adjust the volume level of individual clips in a recording. This can be useful for correcting level imbalances or for emphasizing or de-emphasizing certain parts of the recording.
- Time Alignment: The time alignment tool is used to align multiple tracks so that they are in sync with each other. This can be useful for creating a more cohesive mix and preventing phasing issues.
- Time-Stretching: The time-stretching tool is used to change the tempo or duration of an audio clip without changing its pitch. It can be used to create a slowed-down or sped-up effect or to match the tempo of one audio clip to another.
- Transient Shaper: The transient shaper tool is used to shape the attack and decay of an audio signal. It can be used to emphasize or de-emphasize the initial transient of a sound, creating a more punchy or smooth sound, respectively.
- Crossfade: The crossfade tool is used to smooth out the transition between two audio clips by gradually fading one out while fading the other in. It can be used to create a seamless transition between two different sections of a song or to blend two different audio clips together.
- Reverb: The reverb tool is used to add artificial ambience or “space” to a recording. It works by simulating the reflections that occur in different types of acoustic environments, such as a concert hall or a small room.
- Delay: The delay tool is used to create an echo effect by repeating a portion of the audio signal after a set amount of time. This can be useful for adding depth and interest to a recording.
- Chorus: The chorus tool is used to create a thickened, “shimmering” sound by duplicating an audio signal and modulating the pitch of the duplicates slightly. This can be useful for creating a richer, more full-bodied sound.
- Flanger: The flanger tool is similar to the chorus tool, but it modulates the signal by delaying and then combining it with the original signal. This can be useful for creating a “swooshing” effect or for adding a subtle modulation to a recording.
- Distortion: The distortion tool is used to add harmonic distortion to an audio signal, creating a “gritty” or “dirty” sound. This can be useful for adding a sense of edge or urgency to a recording.
Understanding which tool does what in audio editing software is important because it allows the audio editor to make informed decisions when processing and editing audio. By having a solid understanding of the tools available, an editor can select the appropriate tool to achieve the desired result, whether that is removing unwanted sounds, shaping the frequency response, or adding effects. Additionally, understanding the tools available can help an editor work more efficiently by selecting the most appropriate tool for a given task and avoiding unnecessary steps or rework.