
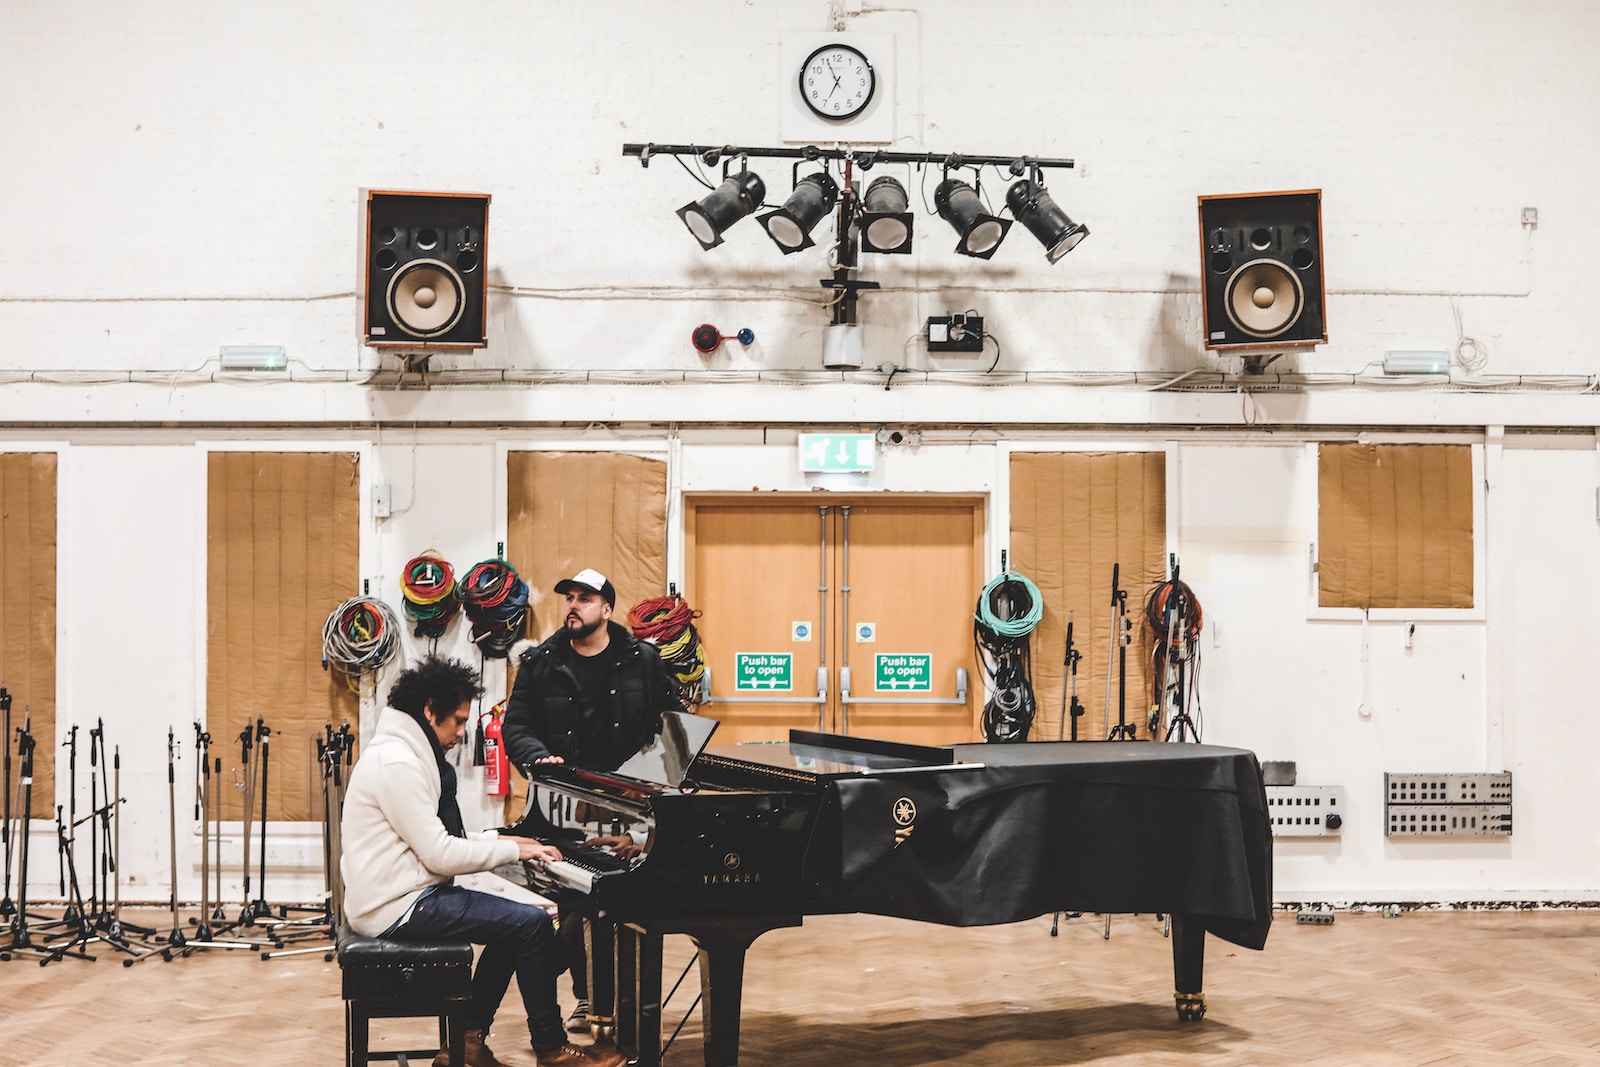
Recording an acoustic piano can be a challenging task, but with careful planning and the right techniques, it is possible to capture the full range and richness of the instrument’s sound. Here are some basic principles and methods for recording an acoustic piano:
1. Choose a suitable room:
The room where you record the piano can greatly affect the sound quality. Choose a room that is large enough to accommodate the piano and has good acoustics. A room with hard surfaces like wood or tile can provide a bright, reflective sound, while a room with soft surfaces like carpet or curtains can produce a warmer, more mellow sound.
2. Microphone placement:
To create a stereo image that provides a natural and spacious sound, use two microphones, one on the treble side and one on the bass side of the piano. This stereo image is created by capturing the differences in timing and level of the sound reaching each microphone.
Additionally, using two microphones can help to capture the full range of the piano’s sound. The treble and bass sides of the piano have different sonic characteristics, and by placing a microphone on each side, it is possible to capture the full range of the piano’s sound, from the high treble notes to the low bass notes. This allows for a more balanced and accurate representation of the piano’s sound.
Finally, using two microphones provides flexibility in post-production. The individual tracks from each microphone can be adjusted and mixed together to create the desired sound. For example, the treble microphone can be boosted to bring out the higher frequencies of the piano, while the bass microphone can be boosted to add warmth and depth to the sound.
3. Experiment with microphone techniques:
Different microphone techniques can produce different sounds. For example, placing microphones in a “spaced pair” configuration, where the microphones are several feet apart, can provide a more spacious sound. Alternatively, using an “XY” configuration, where two directional microphones are placed close together and angled at 90 degrees, can create a focused and detailed sound.
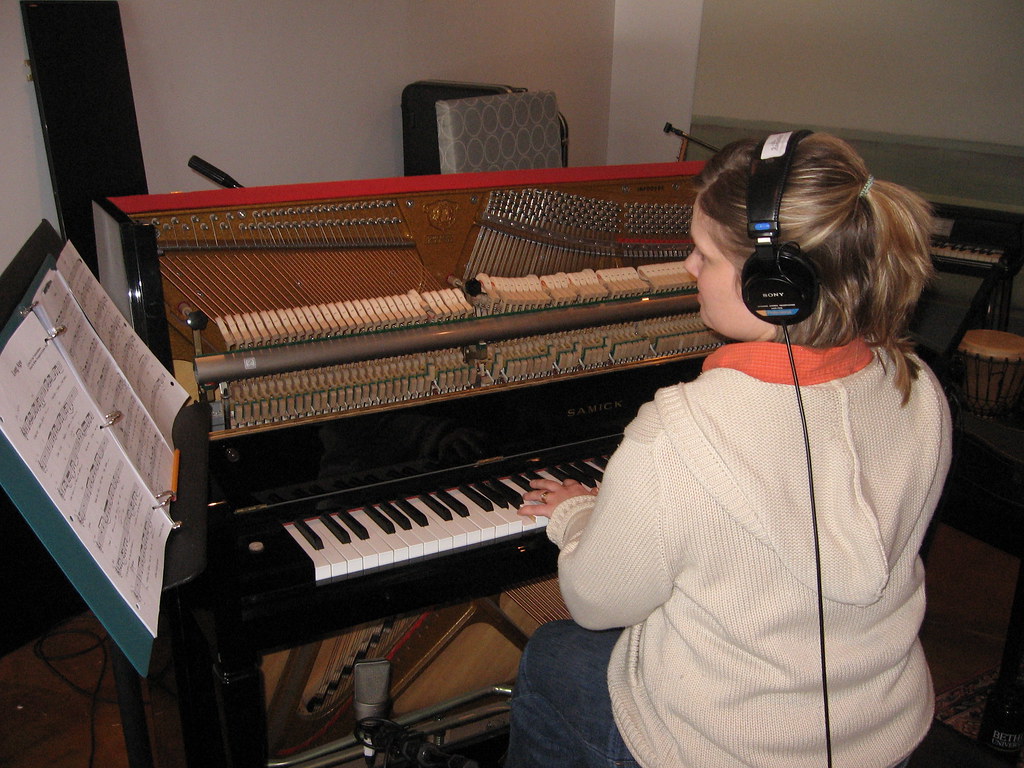
4. Monitor the sound:
Use high-quality headphones or speakers to monitor the sound during recording. Listen carefully for any unwanted noise, such as pedal or key noise, and adjust microphone placement or playing technique as needed.
5. Post-production:
After recording, it’s important to perform post-production techniques to ensure the sound is balanced and polished. This can include editing out any unwanted noise, adjusting levels, and adding effects such as reverb to enhance the natural sound of the piano.
In terms of different methods for recording an acoustic piano using microphones or pickups, you can try:
- Close-miking with condenser microphones: This is the most common method for recording an acoustic piano. Two condenser microphones are placed close to the piano, one on the treble side and one on the bass side. The microphones are positioned in front of the piano, above the strings, and pointing towards the hammers. This method allows for a close, detailed sound of the piano. Microphones that are often used for close-miking the piano are small-diaphragm condenser microphones as they have a flat frequency response and can capture the detail and nuance of the piano’s sound. Ribbon microphones are also often used for recording jazz and classical piano. Ribbon microphones have a figure-8 polar pattern, which can capture sound from both the front and back of the microphone, and have a natural, warm sound.
- Spaced-pair microphone technique: This technique involves placing two microphones at a distance from the piano, usually a few feet apart, and pointing towards the piano. This technique captures the natural stereo sound of the piano and provides a more ambient and spacious sound.
- Mid-Side microphone technique: This technique uses two microphones, one pointed towards the center of the piano and the other pointing to the side. The microphone pointing towards the center captures the direct sound of the piano, while the other microphone captures the room ambience. These two signals are then combined in post-production to create a stereo image. Microphones are often used for spaced-pair or mid-side microphone techniques are large-diaphragm condenser microphones as they have a wider frequency response and can capture more of the room ambience.
- Contact microphones: Contact microphones are placed directly on the soundboard of the piano, under the strings. This method provides a very detailed sound of the piano with little or no room ambience.
- Pickup systems: Pickups can be installed on the piano to capture the sound. This method is often used in live performances where a microphone may pick up too much unwanted noise. The pickups are placed under the strings and produce a direct sound without any room ambience.
In conclusion, the choice of method and microphone will depend on the desired sound, the recording environment, and the specific requirements of the project. Try to experiment with different microphone types and techniques. Each method has its unique benefits and can produce different sounds. Take the time to try out different microphone positions and placements, and don’t be afraid to experiment to find the sound that works best for your project. With some experimentation and practice, you can capture the beautiful and unique sound of an acoustic piano.