


Guide to Connecting Your DJ Controller to an Audio System and Computer
For beginners, connecting a DJ controller to an audio system, computer, and software can seem overwhelming. However, with the right steps, you can set up your gear smoothly. Here’s a comprehensive guide:
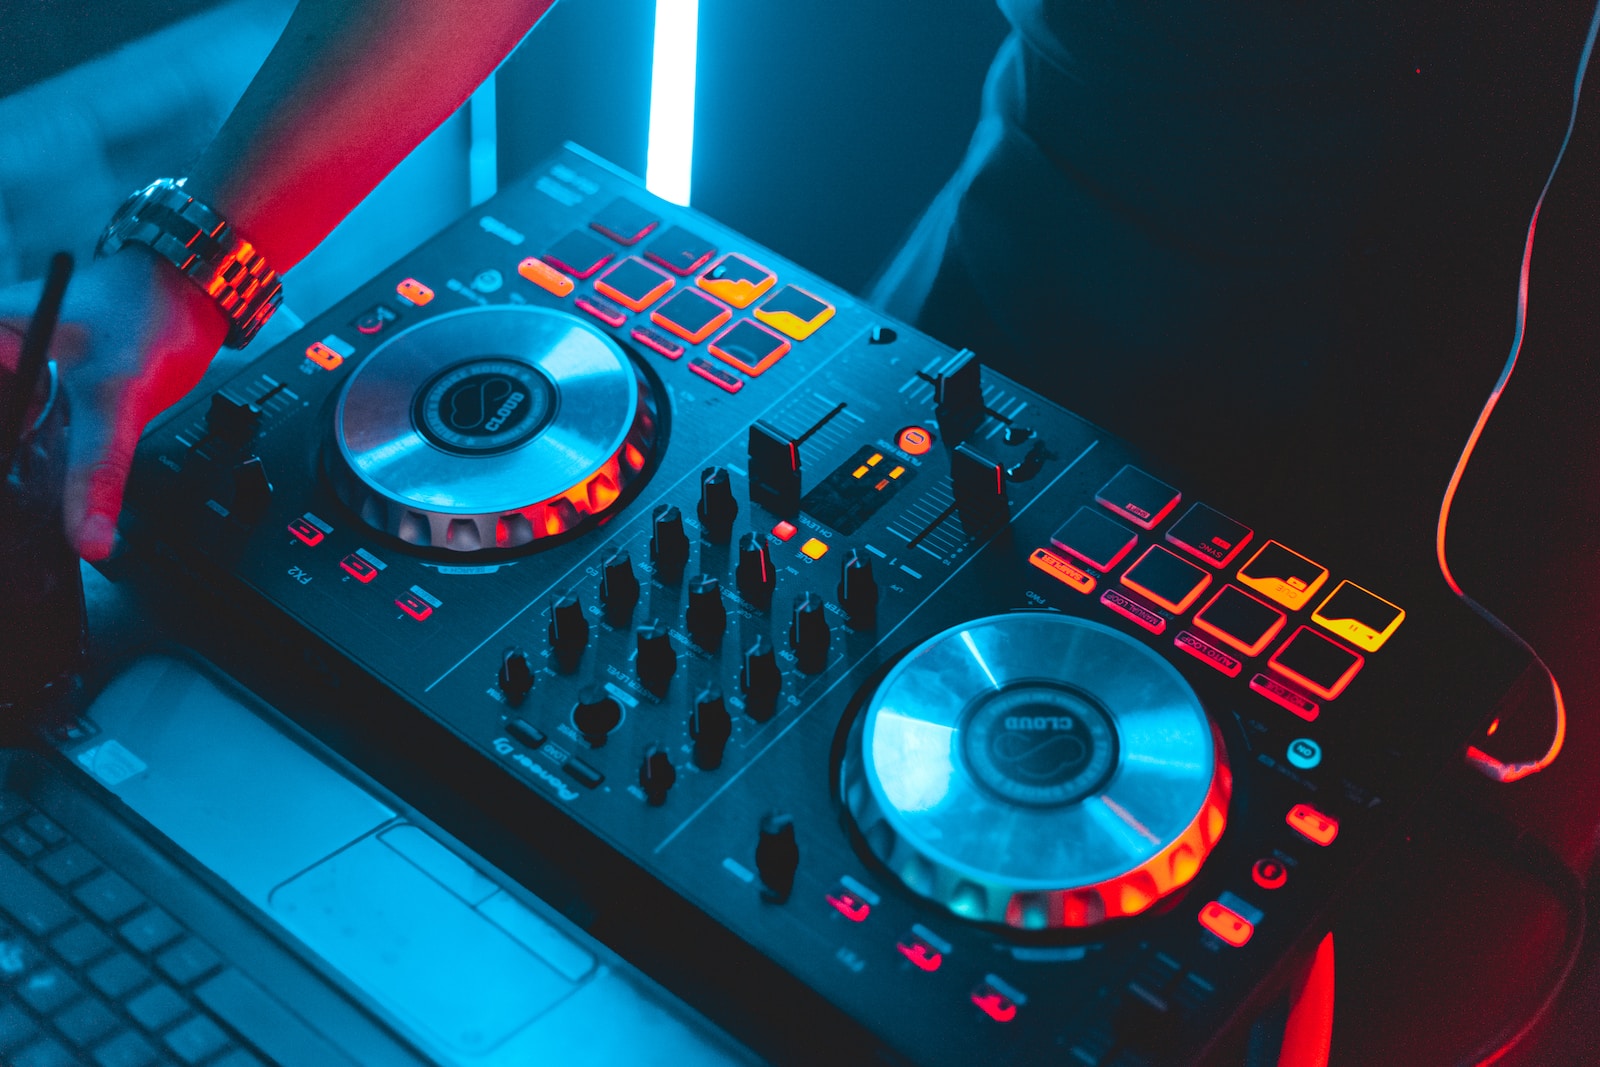
1. Connecting Your DJ Controller to an Audio System
General Steps:
- Identify the Audio Outputs on Your DJ Controller:
- Most DJ controllers have RCA, XLR, or TRS outputs.
- There are two main output types:
- Master Output: The main output, typically connected to the PA system or main speakers in a venue.
- Booth Output: A secondary output for DJ monitors, allowing you to hear your mix and make adjustments.
- Understand the Difference Between Balanced and Unbalanced Outputs:
- Balanced Outputs:
- Designed to reduce noise and interference by using two signals of equal amplitude but opposite polarity.
- Ideal for long cable runs and environments with high interference.
- Unbalanced Outputs:
- Simpler and suitable for short cable runs in low-interference environments.
- Balanced Outputs:
- Identify the Audio Inputs on Your Audio System:
- Common inputs include RCA, XLR, or TRS.
- Connect the Controller’s Output to the System’s Input:
- Use the appropriate cables for your equipment.
- Opt for high-quality cables to ensure the best sound quality and minimize connection issues.
- Identify the Audio Outputs on Your DJ Controller:
Tips for Connecting Your Controller to an Audio System:
- Check Audio Levels:
Before playing music, ensure the signal is neither too strong (hot) nor too weak. Adjust the levels on both your controller and audio system to achieve a clean signal. - Using an External Mixer:
Connect the controller’s output to the mixer’s input, then connect the mixer’s output to your audio system. This setup provides better sound control. - Using a PA System:
Connect your controller to a mixer or amplifier first, then to the PA system. This ensures optimal control over audio levels. - Test Your Setup:
Play some music to confirm that all connections are working correctly. Always test your setup before performing or recording to ensure everything functions as expected.
- Check Audio Levels:
2. Adjusting Your Audio System Settings
Once your connections are in place, fine-tune your audio system:
- Set Audio Levels: Ensure the sound output is neither distorted nor too quiet.
- Balance the Sound: Verify that your speakers deliver the desired audio quality.
3. Troubleshooting
If you encounter any issues, try the following steps:
- Inspect Cables: Ensure all cables are properly connected and undamaged.
- Check Audio Settings: Adjust levels and settings on your controller or mixer.
- Test with Other Equipment: Connect your controller to another device to isolate the problem.
Connecting Your DJ Controller to a Computer and Software
While the steps may vary slightly depending on your DJ controller model and software, here is a general guide to help you get started:
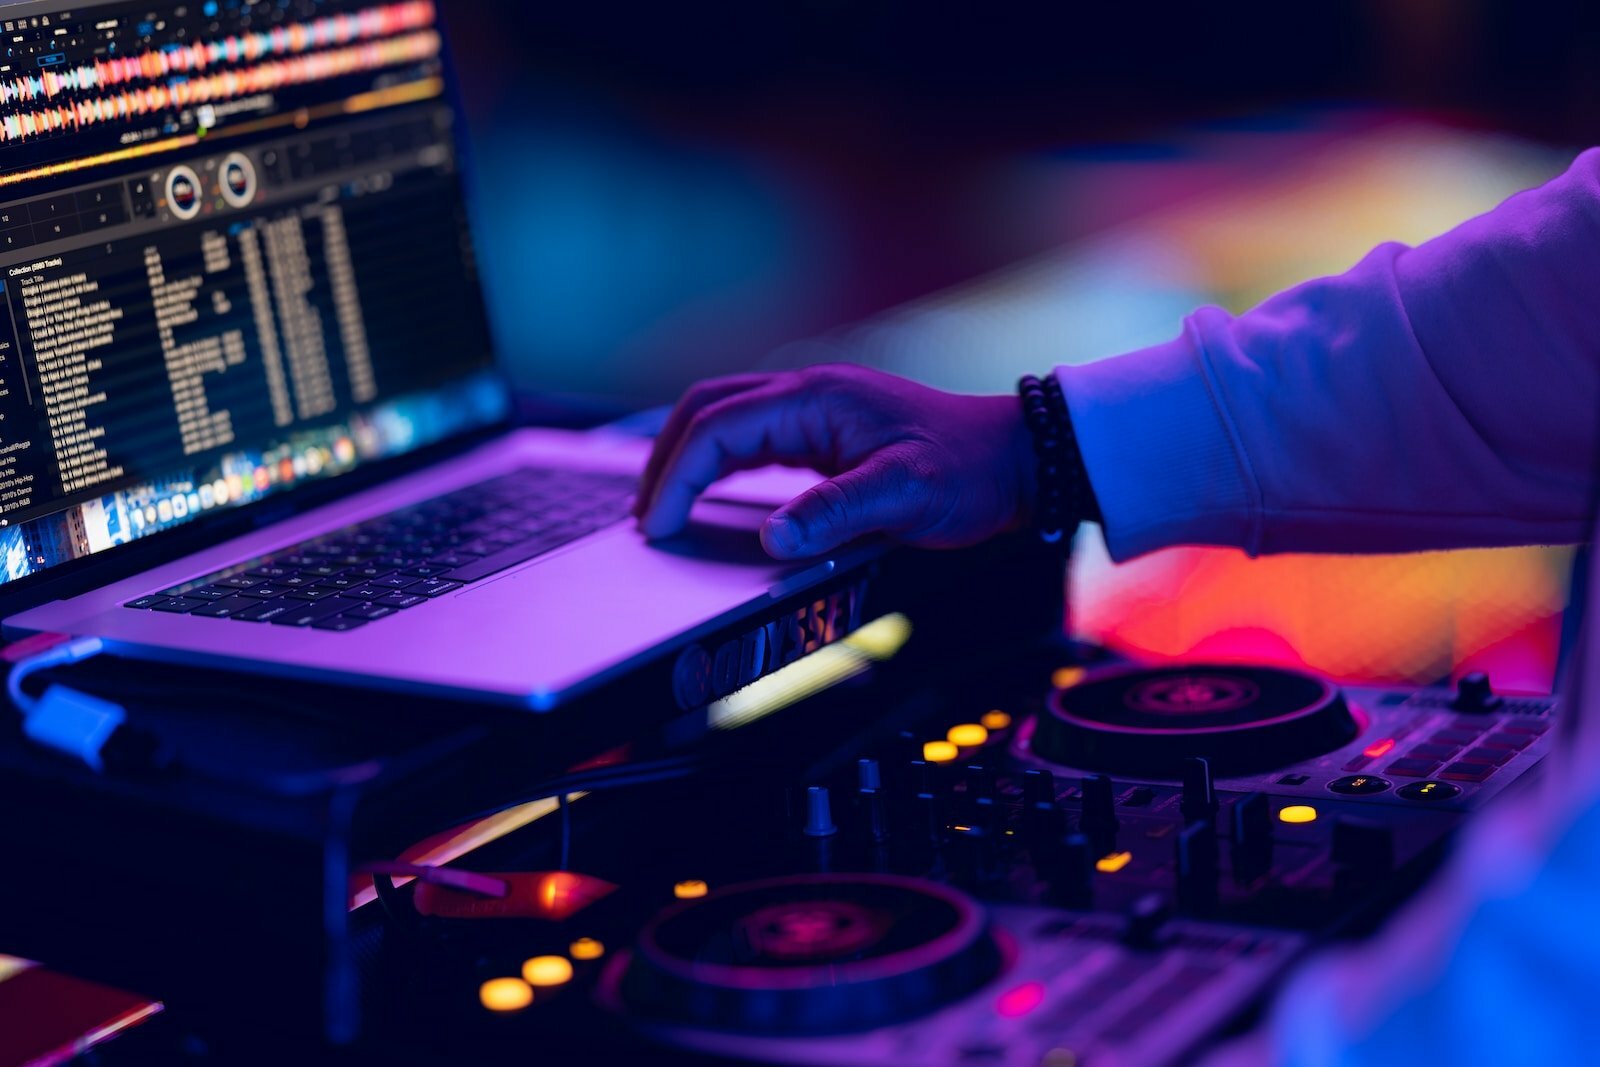
1. Connect Your DJ Controller to the Computer
- Use a USB Cable:
- Plug your DJ controller into your computer or laptop using the appropriate USB cable.
- Install Drivers and Software:
- Install the drivers and software that come with your controller. This is typically done via a setup wizard that guides you through the process.
- Ensure You Have the Latest Software Version: Updating to the latest version ensures full compatibility and access to new features or bug fixes.
- Use a USB Cable:
2. Configure Your DJ Software
- Launch Your DJ Software:
- Open your preferred DJ software, such as Serato, Traktor, or Virtual DJ.
- Access the Settings Menu:
- Navigate to the Settings or Preferences menu.
- Select the MIDI/Controller tab.
- Choose Your Controller:
- Find your controller in the list of available devices.
- Set it as the primary MIDI controller.
- Launch Your DJ Software:
3. Map Controller Functions to the Software
- Assign Buttons and Knobs:
- Click on specific functions in the software, then press the corresponding button or turn the appropriate knob on your controller to map it.
- Manual Mapping:
- Some software may require manual mapping for certain functions. Follow the instructions carefully and take your time to map everything accurately.
- Don’t worry if it takes a few attempts to get everything configured just the way you like.
- Calibrate Your Controller:
- Before using your controller, calibrate it to ensure all knobs, faders, and controls function accurately.
- Assign Buttons and Knobs:
4. Test Your Setup
- Play Music:
- Test your setup by playing a track and experimenting with the various controls on your controller.
- Ensure everything works as expected.
- Adjust as Needed:
- Make any necessary adjustments to the software settings or controller to refine your setup.
- Play Music:
Additional Tips:
- Familiarize Yourself with the Software:
- Spend time understanding the settings and preferences in your DJ software. This will greatly enhance your mixing experience.
- Use High-Quality Cables:
- Opt for a high-quality USB cable for a stable connection and to minimize the risk of interference.
- Always Test Before Performing:
- Prior to performing or recording, test everything to ensure it works seamlessly.
- Familiarize Yourself with the Software:
Conclusion
Connecting and configuring your DJ controller with your computer and software can be a straightforward process if done carefully. Follow the steps to properly map the controls, calibrate your device, and familiarize yourself with the software settings. With the right setup, you can maximize the capabilities of your DJ controller and software, creating a smooth and professional DJing experience.