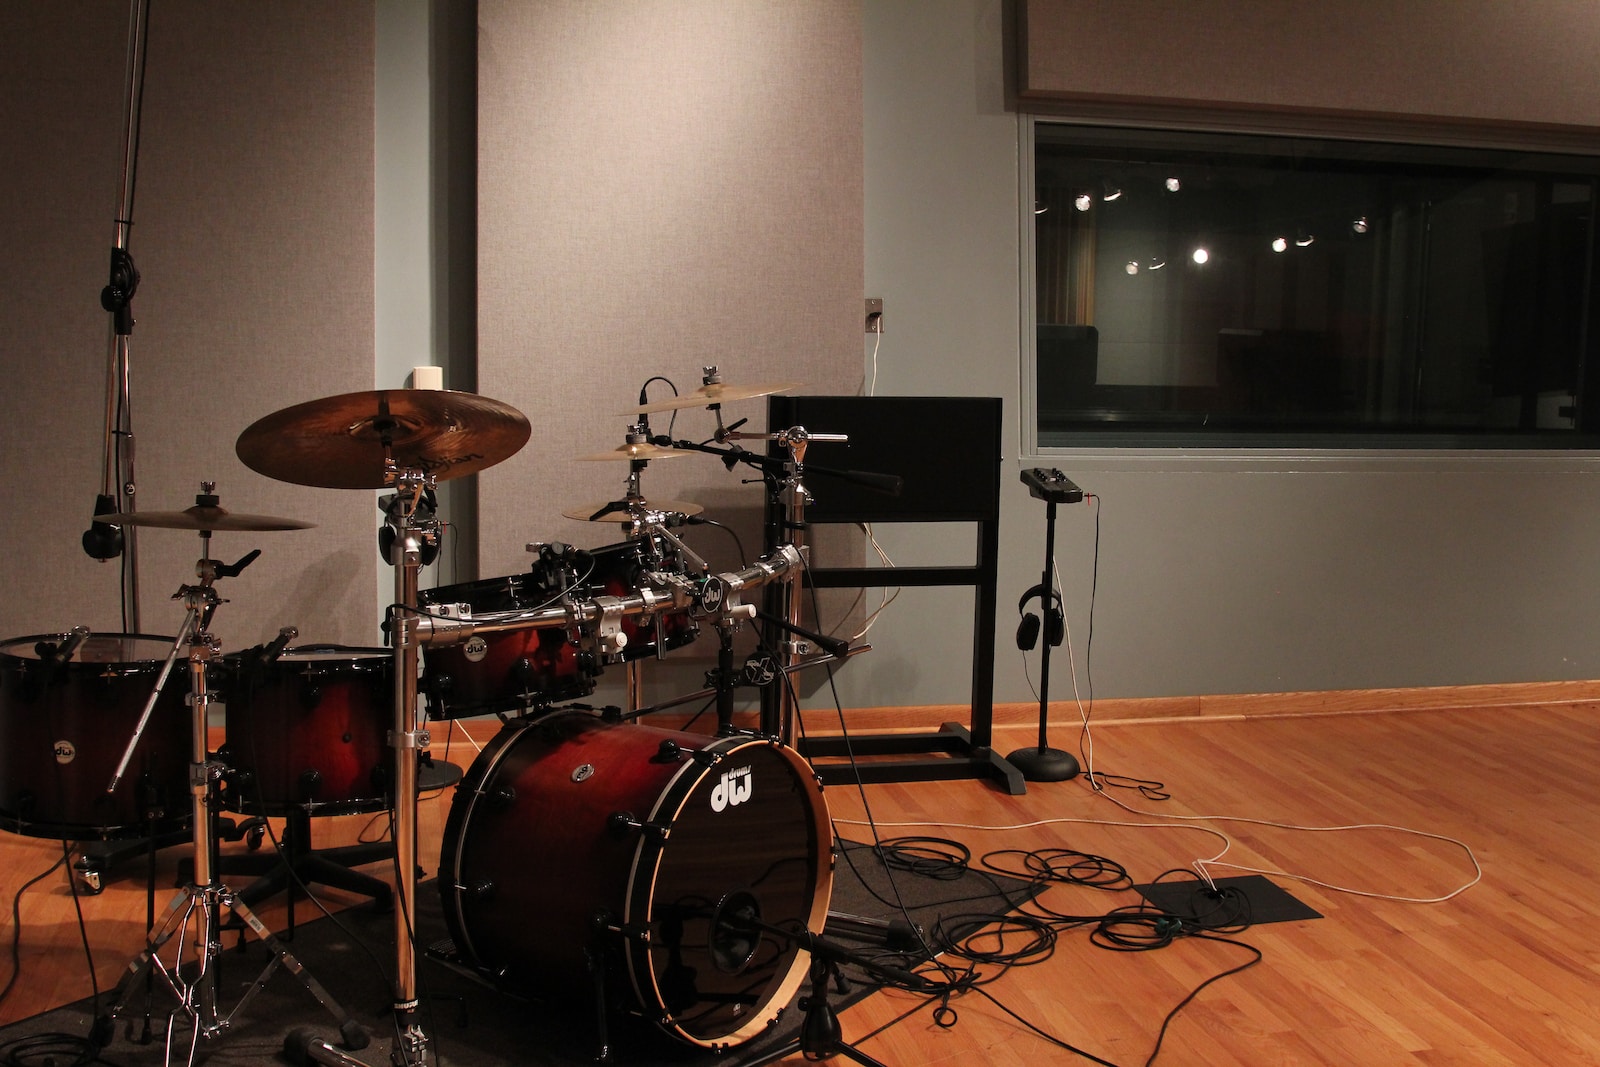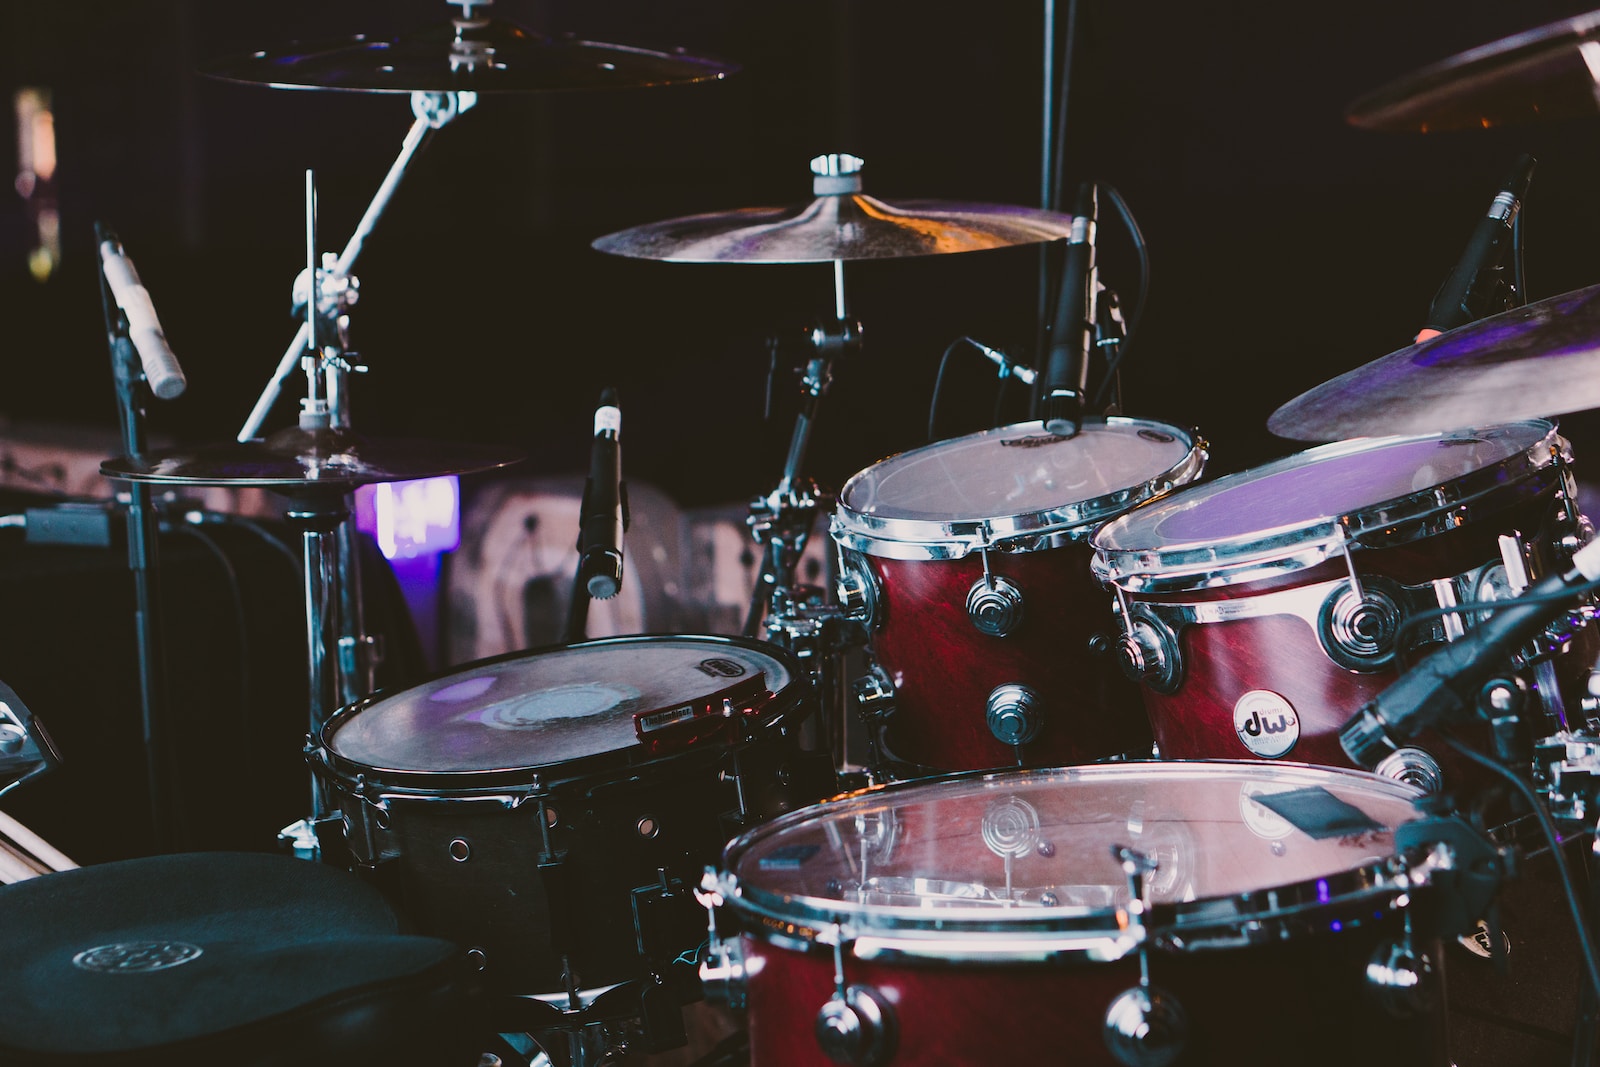
There are several configurations for miking a drum set, and the exact setup will depend on the sound you are trying to achieve, the type of music you are playing, and the size and layout of the room. Some alternative miking configurations for a drum set include:
- Mono Configuration: This involves using a single microphone placed in the center of the drum set to capture the overall sound. This is a simple setup that can work well in smaller venues or for more stripped-down drumming styles.
- Two-Microphone Configuration: This involves using two microphones positioned above the drum set, one aimed at the snare drum and the other aimed at the cymbals and toms. This is a versatile setup that can provide a good balance between the different elements of the drum set.
- Drum Overhead Configuration: This involves using a series of overhead microphones to capture the sound of the cymbals and the toms. The snare drum and the bass drum can be miked separately with dynamic microphones.
- Close Miking Configuration: This involves using several microphones placed close to each drum and cymbal to capture the sound of each individual element. This setup provides greater control over the sound of each element and allows for more individualized processing and mixing.

For miking an acoustic drum set using close miking configuration and multiple microphones, here is the step-by-step guide:
- Choose the right microphones: For a standard drum kit, you will need at least 7-8 microphones. Select mics that are designed for drum miking, such as dynamic microphones with a cardioid or supercardioid pickup pattern. Condenser microphones are also used for drum miking, particularly for capturing the sound of the cymbals. They offer a more natural, detailed sound than dynamic microphones and are ideal for capturing the subtleties of the cymbals. Also consider using directional microphones to prevent sounds from different parts of the drum set to ‘bleed’ and mixed in.
But instead of choosing which microphone suit for which part of the drum set individually, it is recommended to just get a set of microphones designed specifically for a complete drum set, which usually comes in 5 or 7 pcs of microphones. - Snare drum: Place a microphone on top of the snare drum aimed at the center of the drumhead, about 2-3 inches from the rim.
- Toms: Place a microphone on each tom-tom, about 2-3 inches from the rim and aimed at the center of the drumhead.
- Bass drum: Place a microphone inside the bass drum, pointed at the beater. Alternatively, you can also use a bass drum microphone placed outside the drum, about 2-3 inches from the beater head.
- Hi-hat: Place a microphone above the hi-hat cymbal, aimed at the center of the cymbal.
- Overhead microphones: Place two overhead microphones above the drum set, aimed at the cymbals and toms. This will capture the overall sound of the kit.
- Room microphones: Place two room microphones at a distance from the kit to capture the ambiance of the room.
- Adjust levels and placement: Once all the microphones are in place, adjust the levels of each microphone to achieve a balanced mix. Fine-tune the placement of each microphone to minimize unwanted noise and to achieve the desired sound.
So, this is a basic guide for miking an acoustic drum set. Please note that for more advanced configurations, specific microphones and placement may vary based on the size and style of the drum set and the desired sound. Experimenting with different microphone types, polar patterns, and placements can help you find the perfect sound for your drum set.

