


Have you ever considered creating your own music or recording audio content in the comfort of your own home?
Have you wondered what equipment and tools you need to build a digital audio production studio at home?
Building a digital audio production studio at home may be quite confusing, especially when you are starting out. But let’s dive in.
Equipment you may need:
1. Computer
A high-performance computer is crucial for audio production, as it will run the software and handle the audio processing. Consider the following factors when choosing a computer:
- Processor: A fast, multi-core processor is crucial for audio processing as it will handle the intensive computational tasks required by your DAW. Look for a CPU with a high clock speed and a high number of cores.
- RAM: Audio processing requires a lot of memory, so it is important to choose a computer with a high amount of RAM. At least 8 GB is recommended, but 16 GB or more is ideal.
- Hard Drive: A fast hard drive with a high read/write speed is important for audio production as it will ensure that your recordings are stored quickly and played back smoothly. An SSD is recommended.
- Graphics Card: A high-performance graphics card is not essential for audio processing, but it can be useful for running virtual instruments and other graphical applications.
- Operating System: A computer running a modern and stable operating system is important for audio production, such as Windows 10 or MacOS.
- USB ports: Make sure that your computer has enough USB ports to connect all your gear, such as your audio interface, microphone, and other devices.
- Power Supply: A computer with a powerful power supply is important for audio processing as it will ensure that your system runs smoothly and avoids any performance issues.
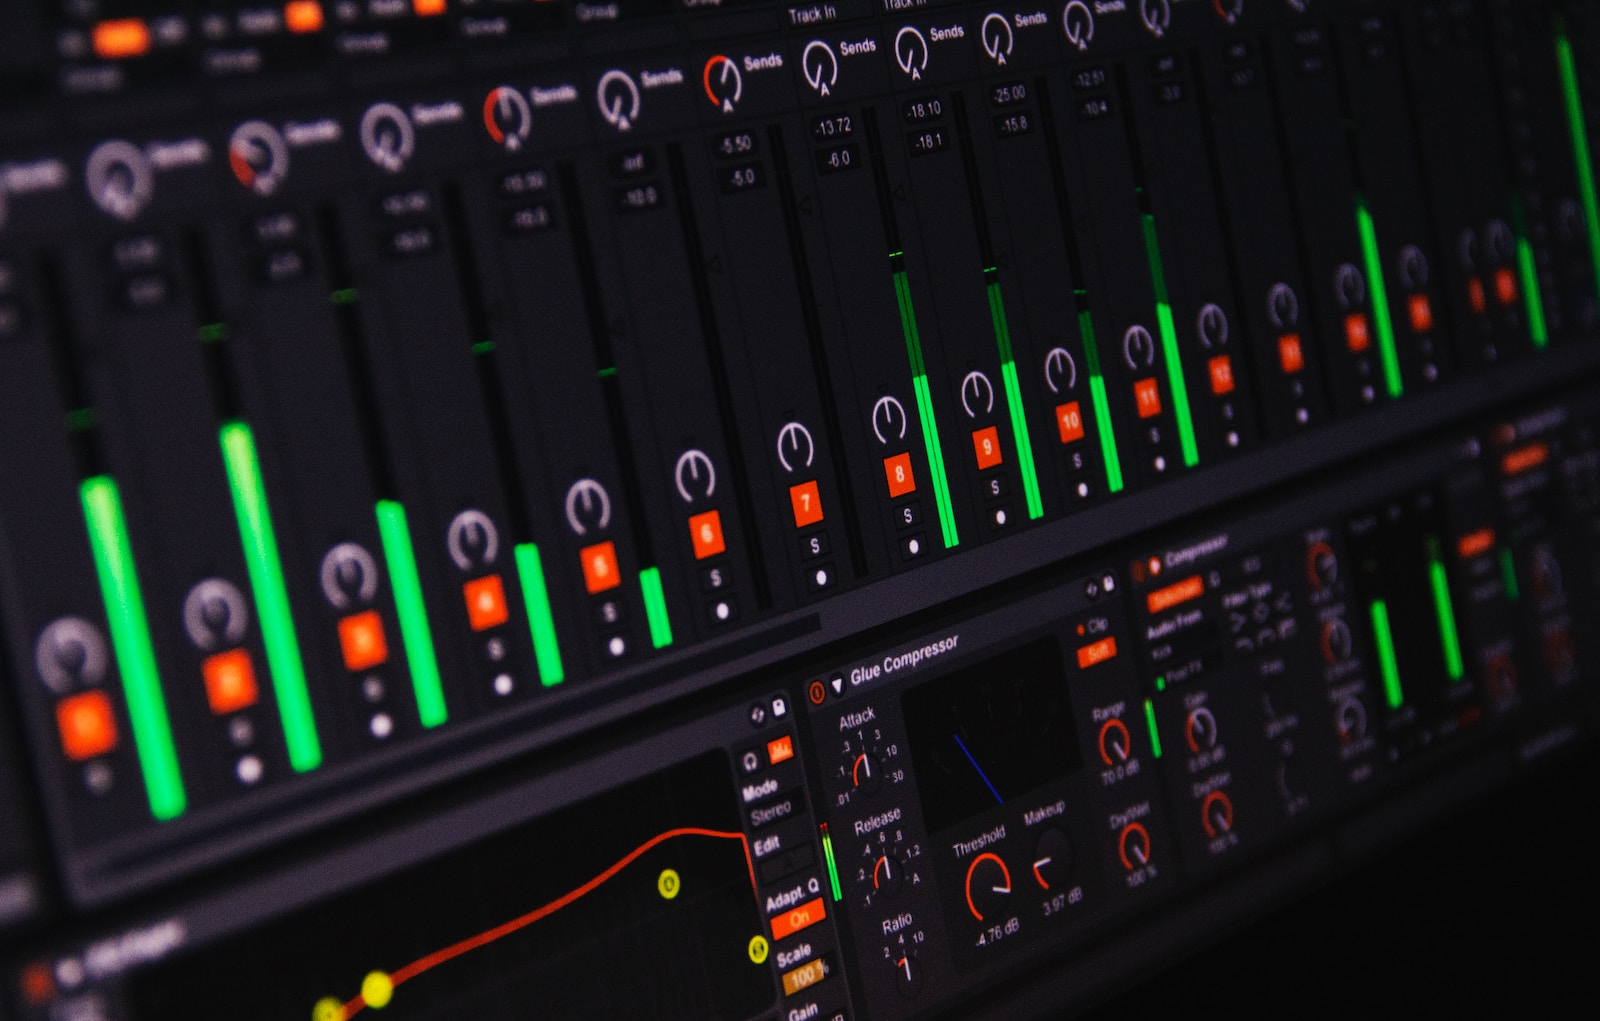
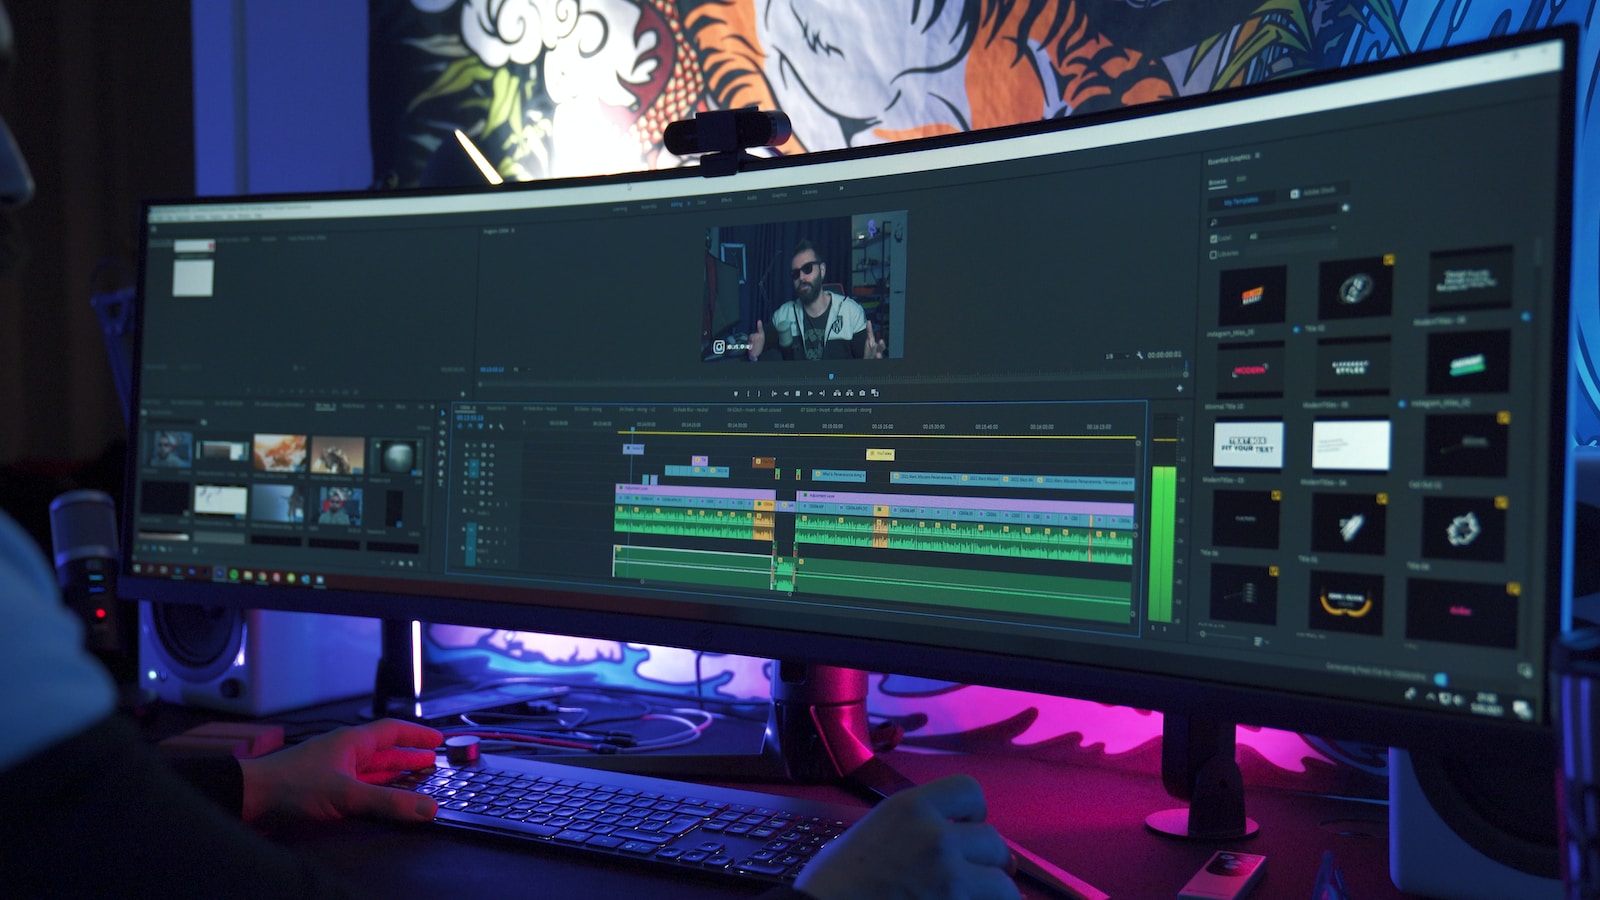
2. Digital Audio Workstation (DAW)
A DAW is the primary software you will use to create, record, and mix audio. Some popular options including:
- Ableton Live: Ableton Live is a popular choice for electronic music production, live performance, and loop-based composition. It is also known for its intuitive and user-friendly interface.
- Pro Tools: Pro Tools is the industry standard for audio production and is used by many professional studios. It is a powerful and versatile DAW that offers a wide range of features and plugins.
- Logic Pro X: Logic Pro X is a popular DAW for Mac users and is known for its easy-to-use interface and powerful features. It is a great choice for music production, recording, and mixing.
- Cubase: Cubase is a professional-grade DAW that is popular among musicians, producers, and engineers. It is known for its stability, versatility, and deep feature set.
- FL Studio: FL Studio (formerly known as FruityLoops) is a popular DAW for electronic music production. It is known for its user-friendly interface and powerful features.
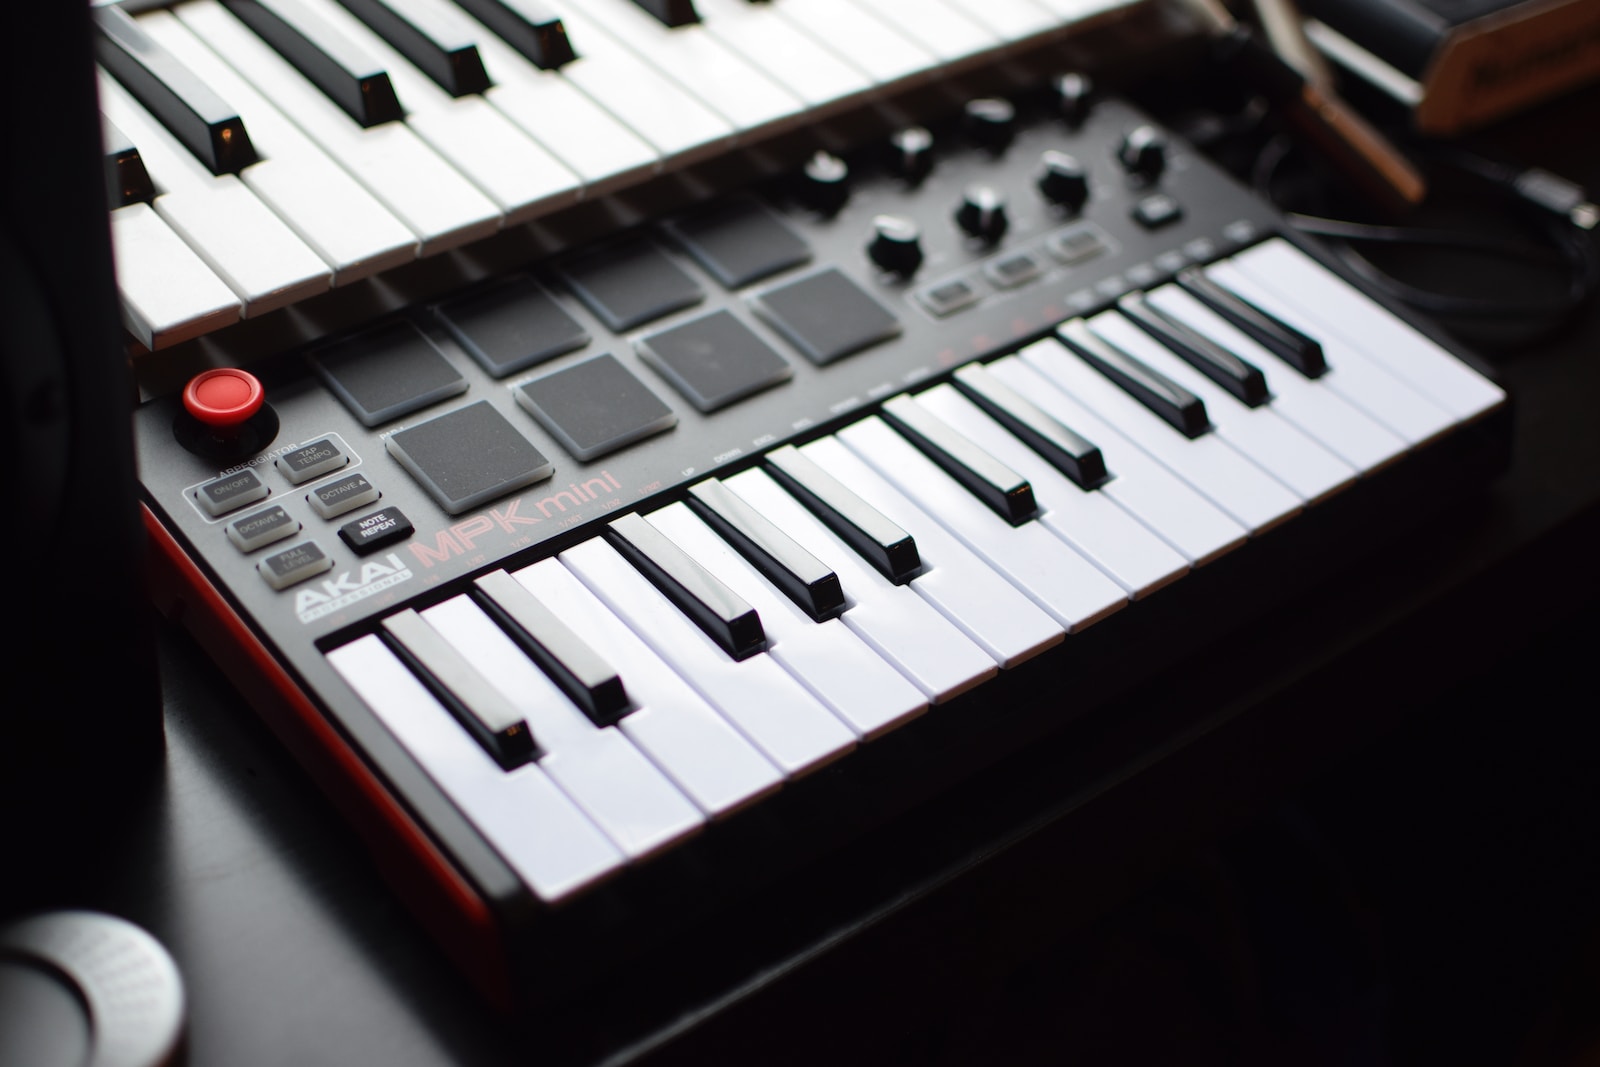
3. MIDI Keyboard:
A MIDI keyboard can be used to play virtual instruments and record MIDI data into your DAW. MIDI controllers come in various size and shapes. A MIDI keyboard is one of the most used since it can play almost any kinds of virtual instruments you have (Learn more about MIDI controllers in different article).
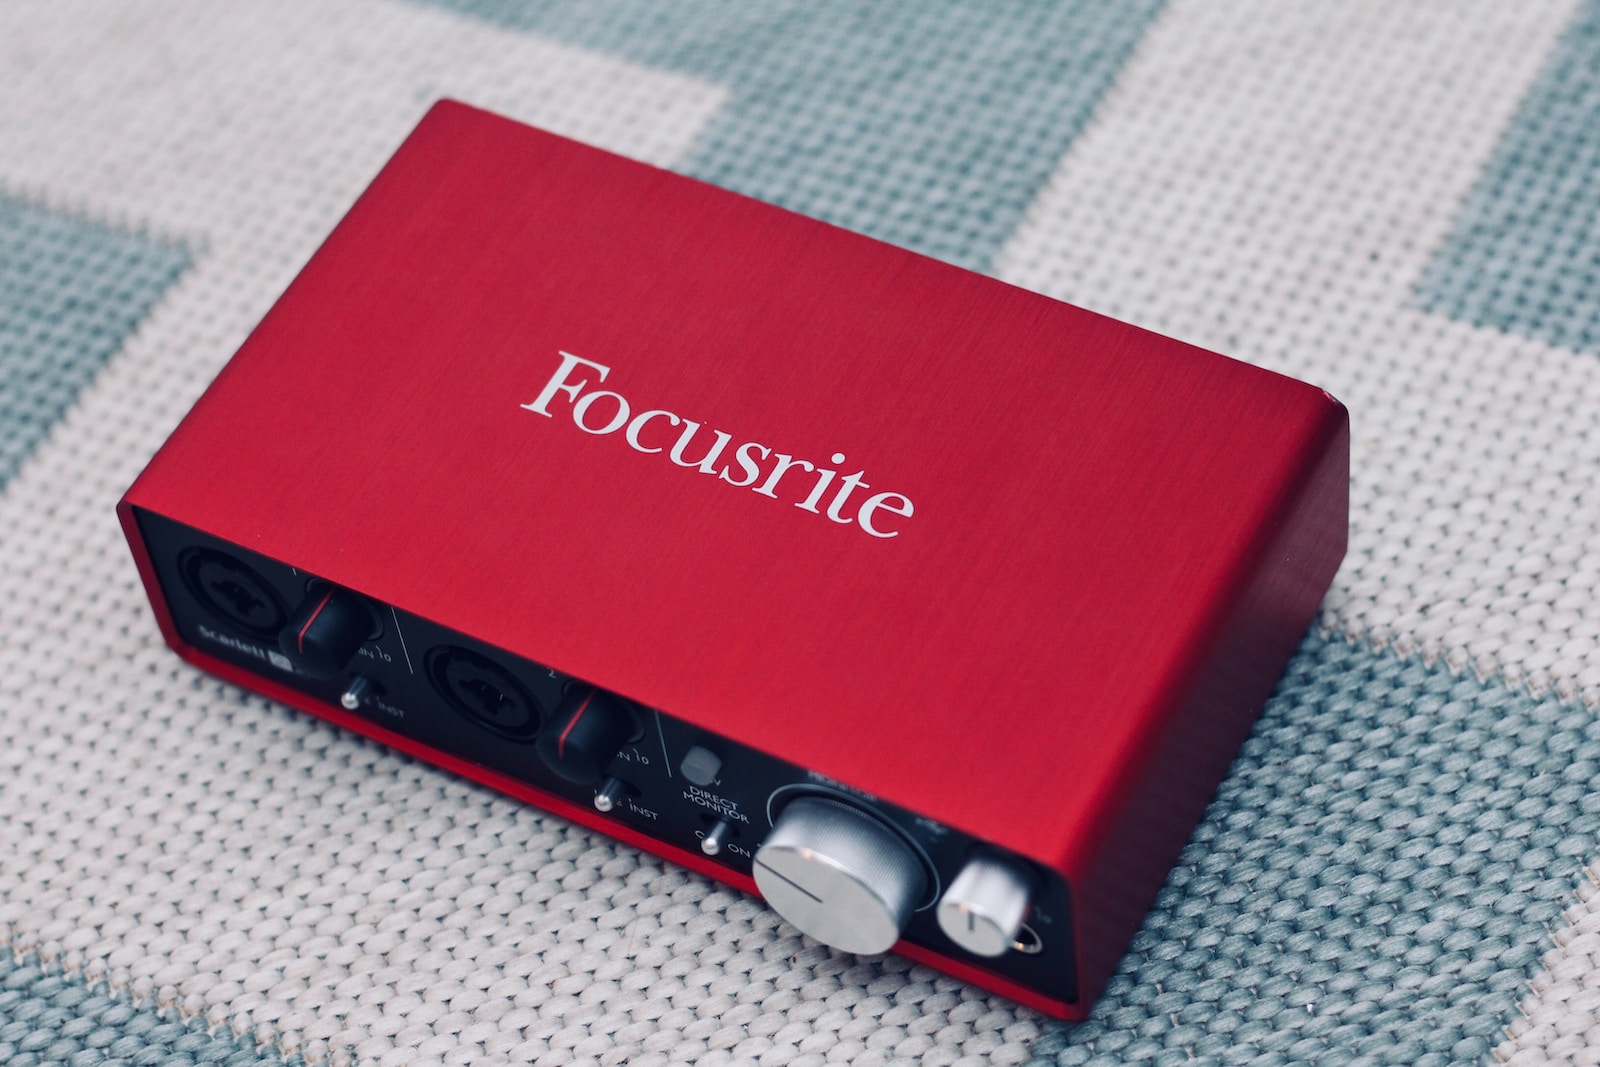
4. Audio Interface:
An audio interface allows you to connect your microphone, instruments, and other gear to your computer. When starting out, several aspects to consider:
- Inputs and Outputs: Consider the number of inputs and outputs you need based on the amount of gear you plan to use. For example, if you plan to record multiple microphones or instruments simultaneously, you’ll need an audio interface with more inputs. But when starting out, at least make sure the audio interface has 2 inputs, including at least one microphone preamp, and 2 outputs for monitoring, such as headphone and speaker outputs.
- Quality of Preamps: The quality of the preamps in your audio interface can greatly impact the sound of your recordings. Make sure to choose an audio interface with high-quality preamps that can provide clean, clear, and noise-free recordings.
- Latency: Latency refers to the time it takes for audio to travel from your microphone or instrument to your computer. Make sure to choose an audio interface with low latency to ensure smooth and accurate recordings.
- Connectivity: Consider the type of connectivity you need, such as USB, Firewire, or Thunderbolt. Make sure your computer and other gear are compatible with the audio interface you choose.
- Budget: Audio interfaces range from budget-friendly options to high-end models. Consider your budget and the specific features you need when choosing an audio interface.
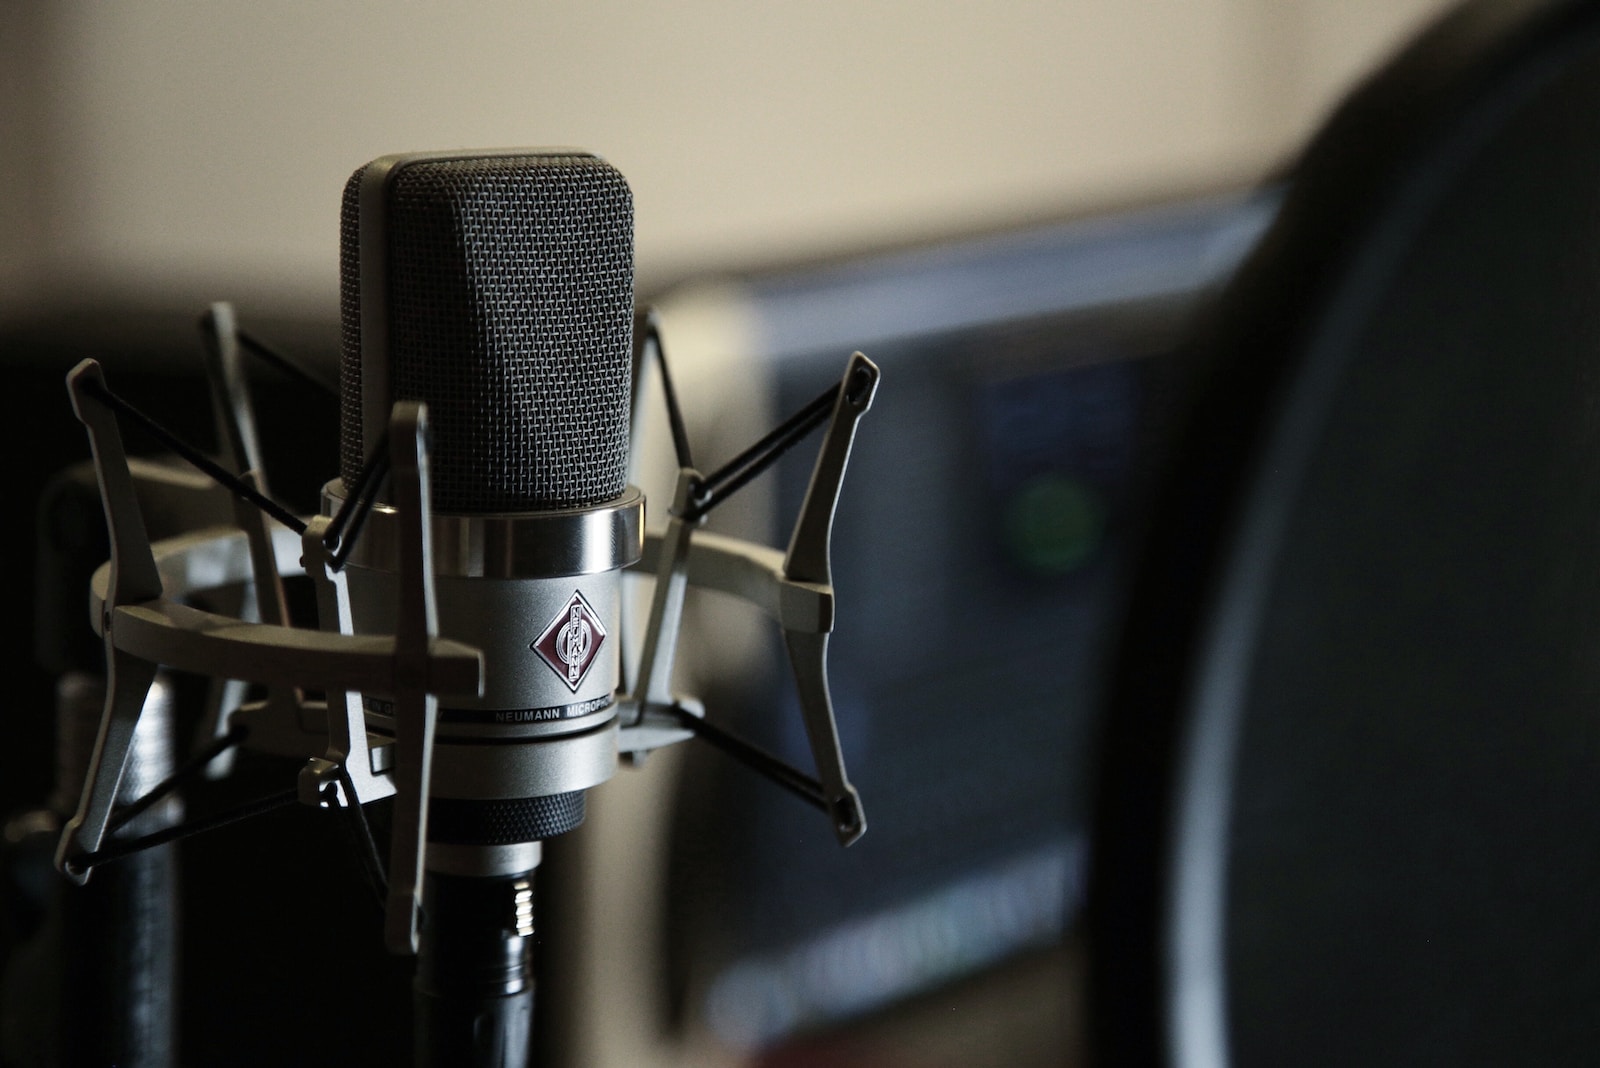
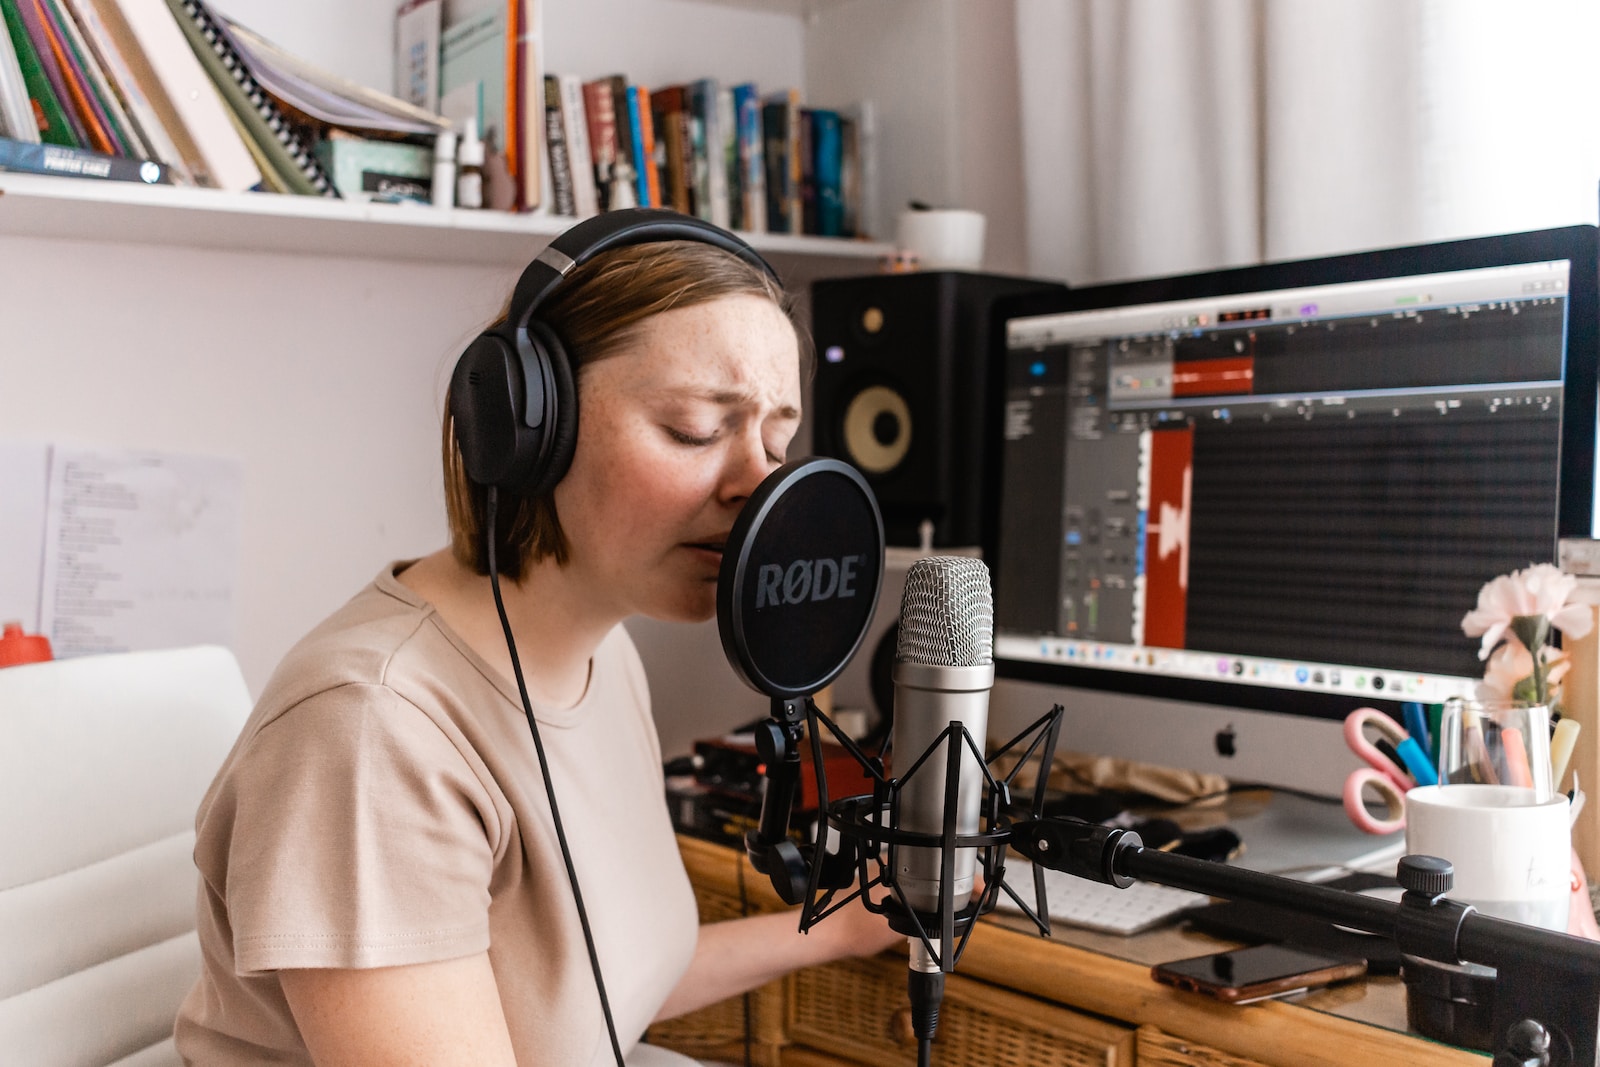
5. Microphone:
A high-quality microphone is crucial for recording vocals, instruments, and other sound sources. Things to consider:
- Purpose: Consider the purpose for which you need a microphone. For example, if you plan to record vocals, you’ll need a microphone that is well-suited for that task. If you plan to record instruments, you’ll need a different type of microphone.
- Directionality: There are three main types of microphone directionality: omnidirectional, unidirectional, and bidirectional. Omnidirectional microphones pick up sound from all directions, unidirectional microphones pick up sound from one direction, and bidirectional microphones pick up sound from two directions.
- Connectivity: Some microphones connect directly to your computer, while others connect to your audio interface.
- Budget: Microphones range from budget-friendly options to high-end models. Consider your budget and the specific features you need when choosing a microphone.
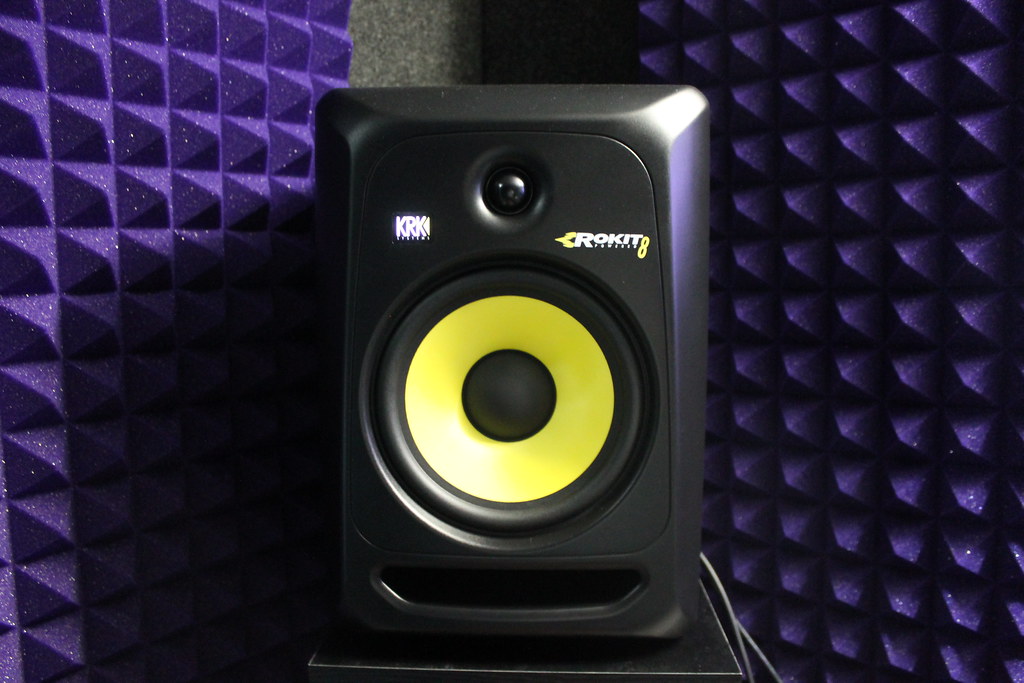
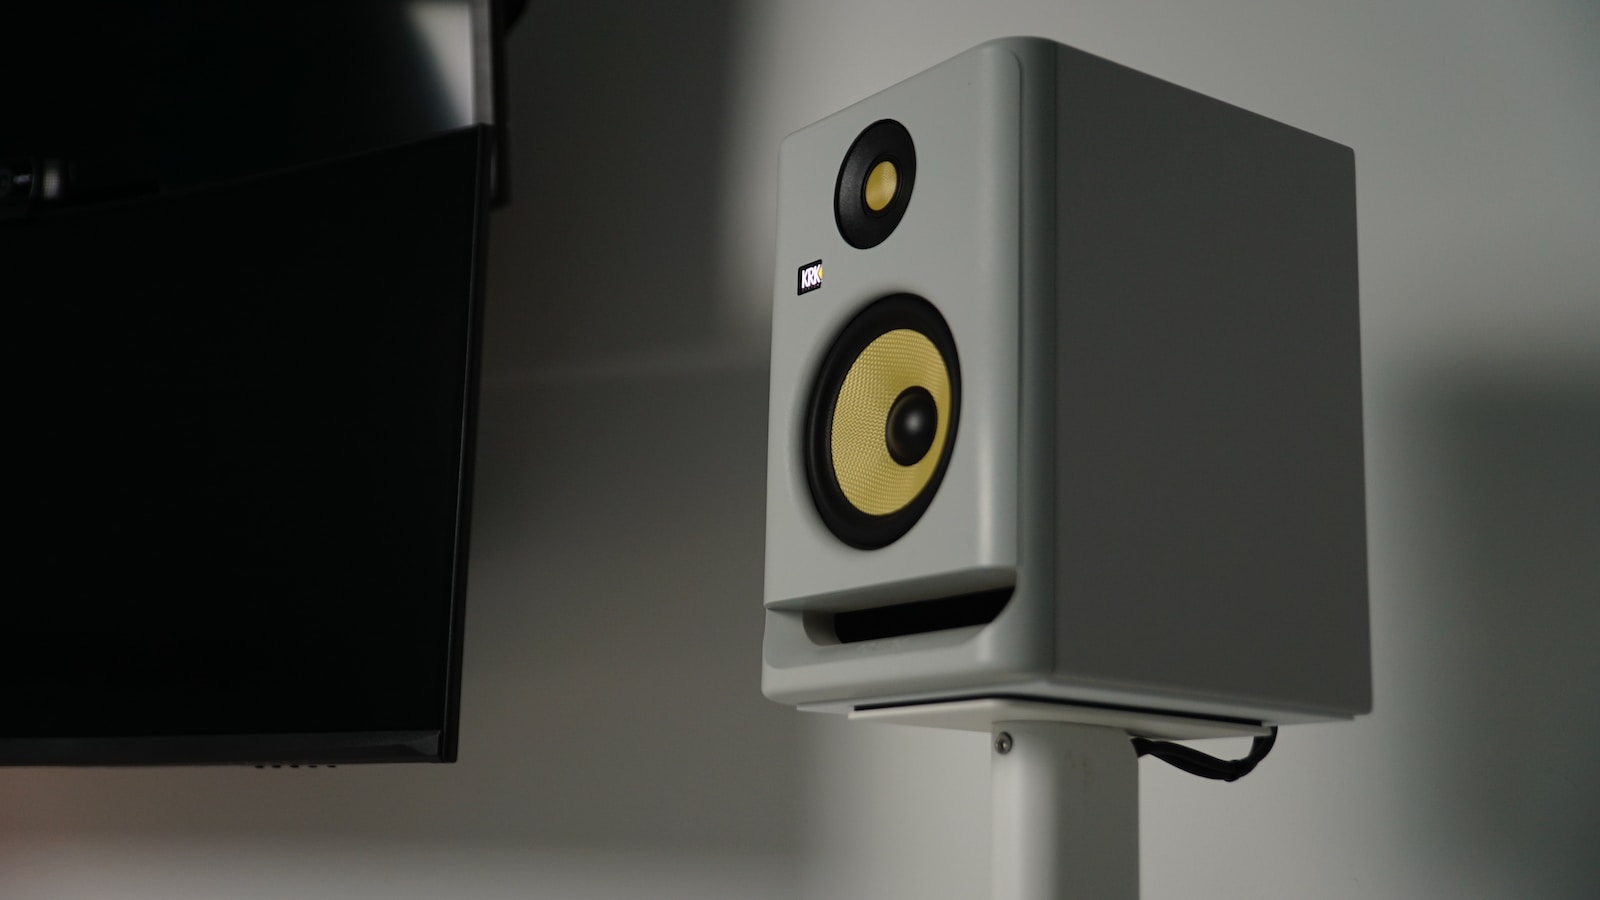
6. Studio Monitors:
Studio monitors are designed to accurately reproduce audio, allowing you to hear exactly what you’re recording and mixing. When choosing one, consider things like:
- Frequency Response: The frequency response of the monitors should be flat, meaning that they accurately reproduce all frequencies. A flat frequency response is important for accurate mixing and mastering, as it allows you to hear all frequencies in their true form.
- Size: Smaller monitors are more compact and easier to place in a smaller space, but larger monitors may provide better sound quality because they integrate larger subwoofers alongside the tweeters, which deliver wider frequency response. To get similar frequency response with smaller monitors, you may consider adding a subwoofer to the system.
- Connectivity: Since your monitors will be connected to your audio interface, make sure the inputs are compatible with the output from your audio interface.
- Budget: Studio monitors range from budget-friendly options to high-end models (typically 3-way speakers). Consider your budget and the specific features you need when choosing studio monitors.
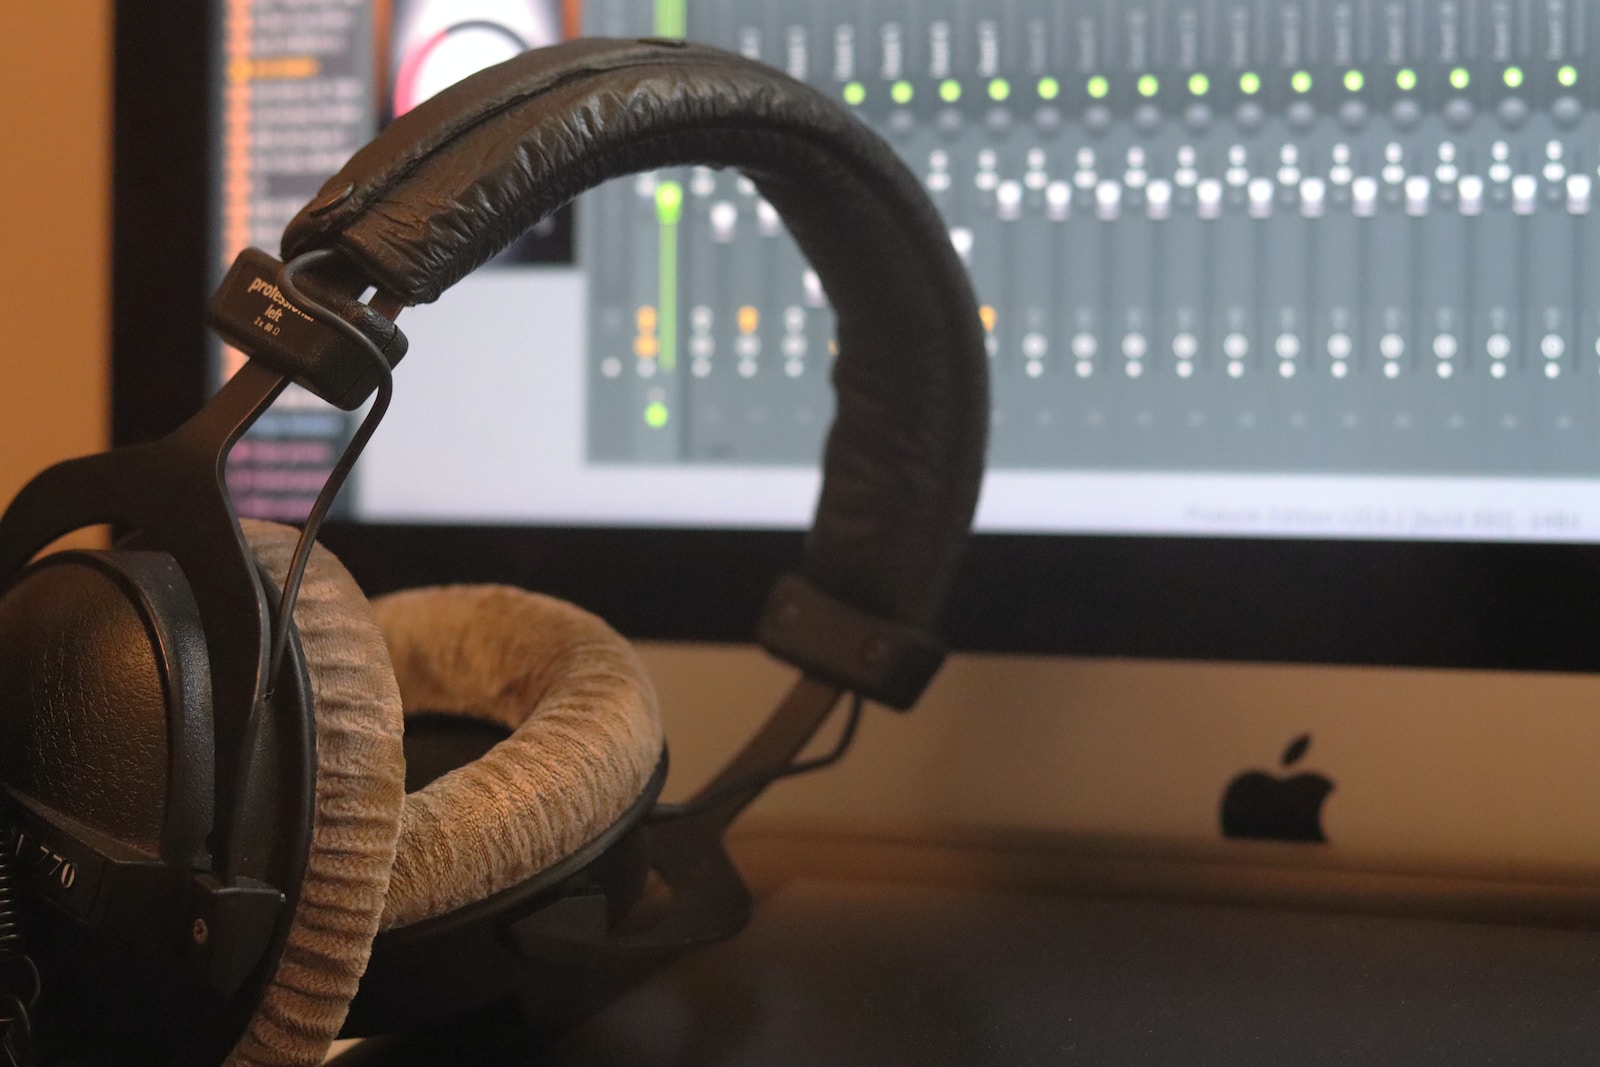
7. Headphones:
A good pair of headphones will let you monitor your audio without disturbing others. Some things to watch for:
- Frequency Response: Just like studio monitor speakers, the frequency response of the studio monitor headphones should also be flat, meaning that they should accurately reproduce all frequencies. A flat frequency response is important for accurate mixing and mastering, as it allows you to hear all frequencies in their true form.
- Noise Isolation: Studio headphones should have good noise isolation, meaning that they block out external noise and provide a quiet listening environment.
- Comfort: Studio headphones should be comfortable to wear for extended periods of time. Consider the weight, cushioning, and adjustability of the headphones when choosing.
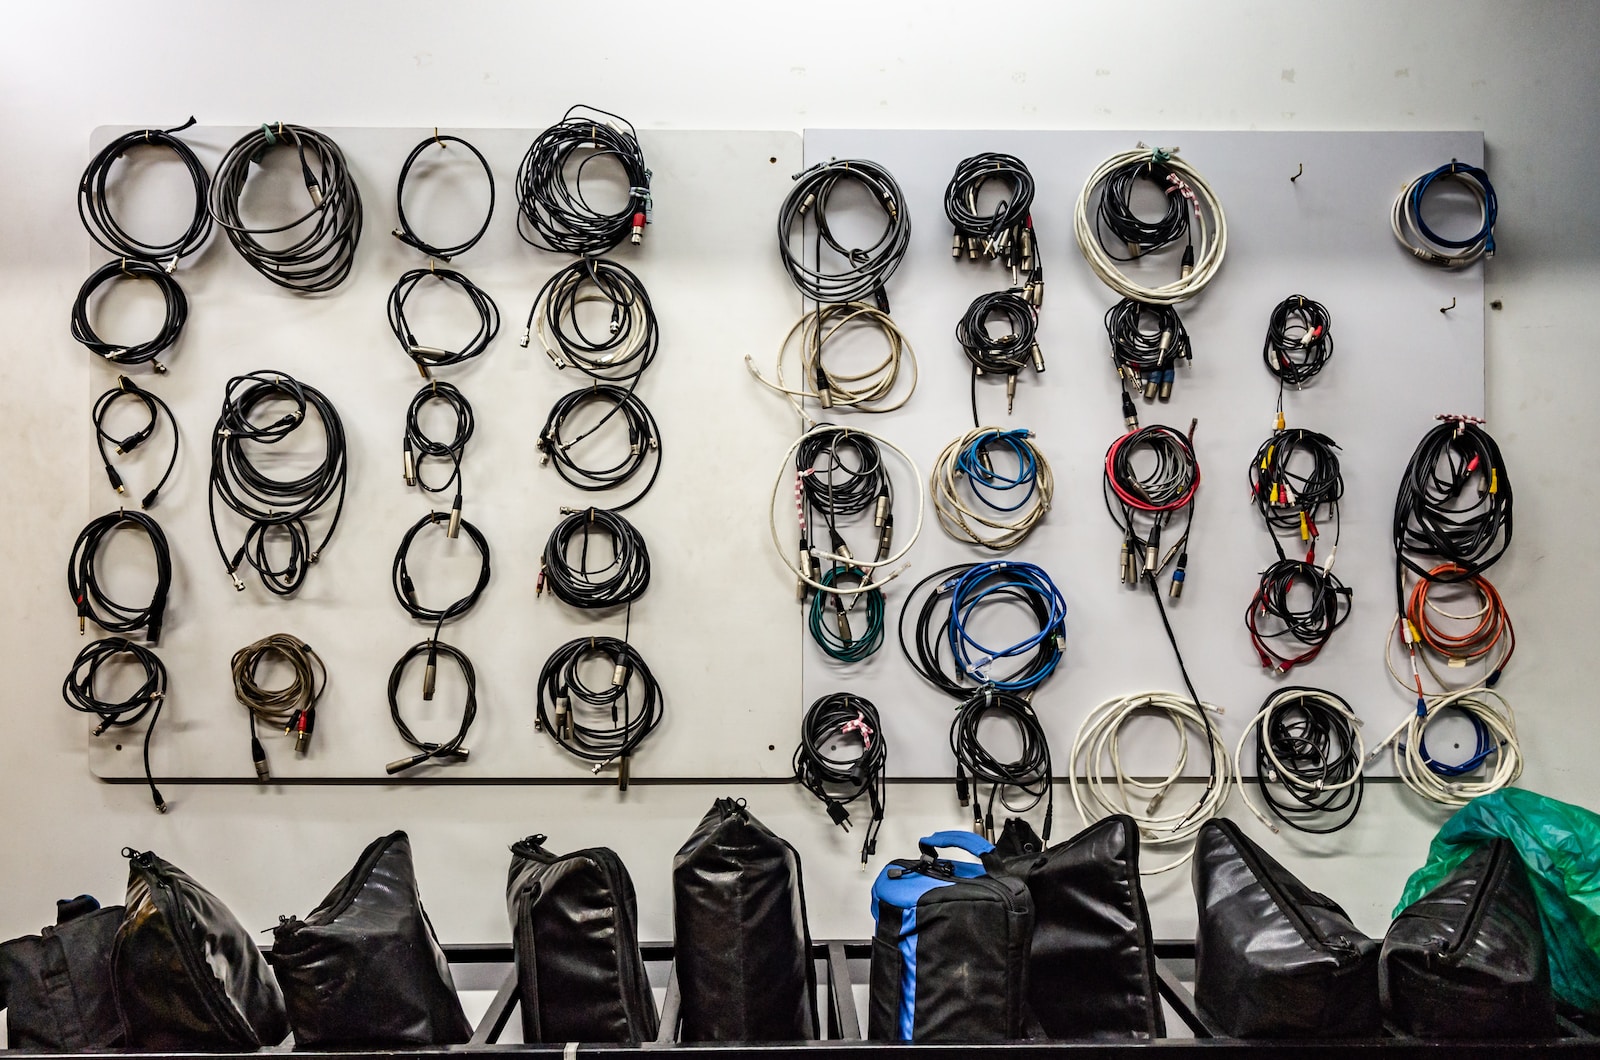
8. Cables:
Cables are used to connect your gear to your computer and to each other.
9. Audio Stand:
An audio stand will hold your microphone and help reduce noise and vibrations during recording. For this, you may want to consider using shock mount and pop filter for your microphone.
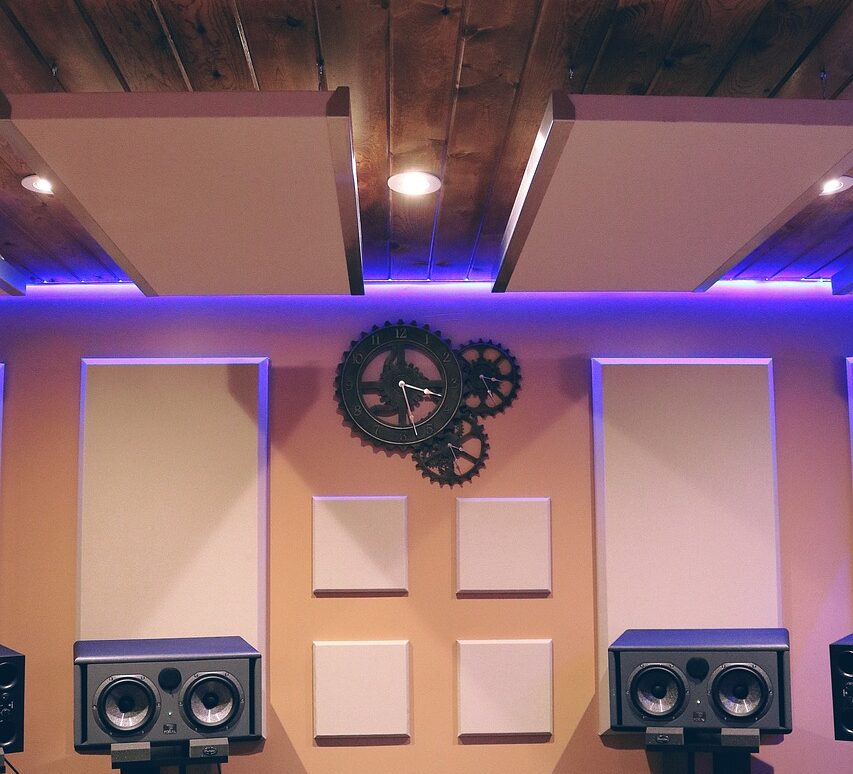
10. Acoustic Treatment:
Acoustic treatment is used to control the sound in your studio, reducing reflections and absorbing excess echo. Sounds that are bouncing around may be captured by your microphone.
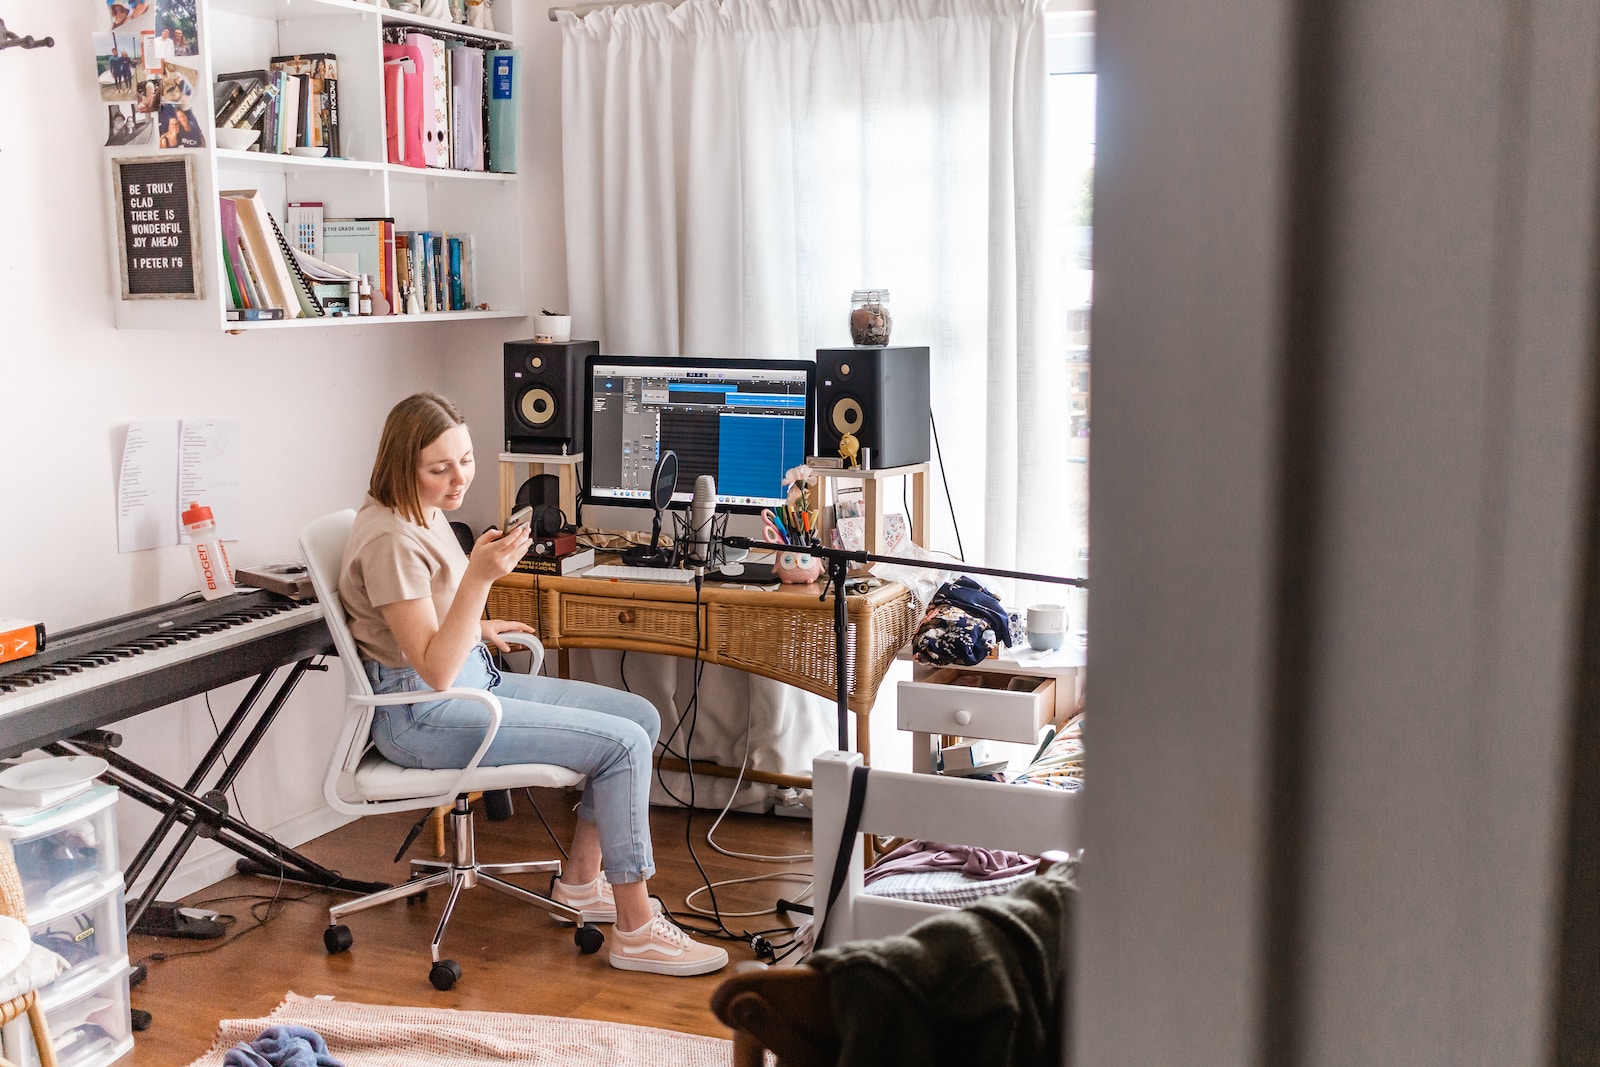
11. Studio Furniture:
A comfortable chair, desk, and lighting will help you work effectively and efficiently in your studio.
Ultimately, research thoroughly, plan carefully, and invest in high-quality equipment as you can afford. Building a home digital audio production studio is a significant investment of time and money, and it’s important to make sure that each component works together seamlessly and there is no bottleneck that may reduce the quality of the sound you are producing.
Don’t be afraid to seek the advice of professionals or consult online forums and guides to ensure that you make the best decisions for your needs. With the right planning, research, and investment, you’ll be able to build a home digital audio production studio that meets your needs.